
Breaking Baking — Batch 01: Brown Butter Powder
Learn how to turn liquid gold into shelf-stable flavor.

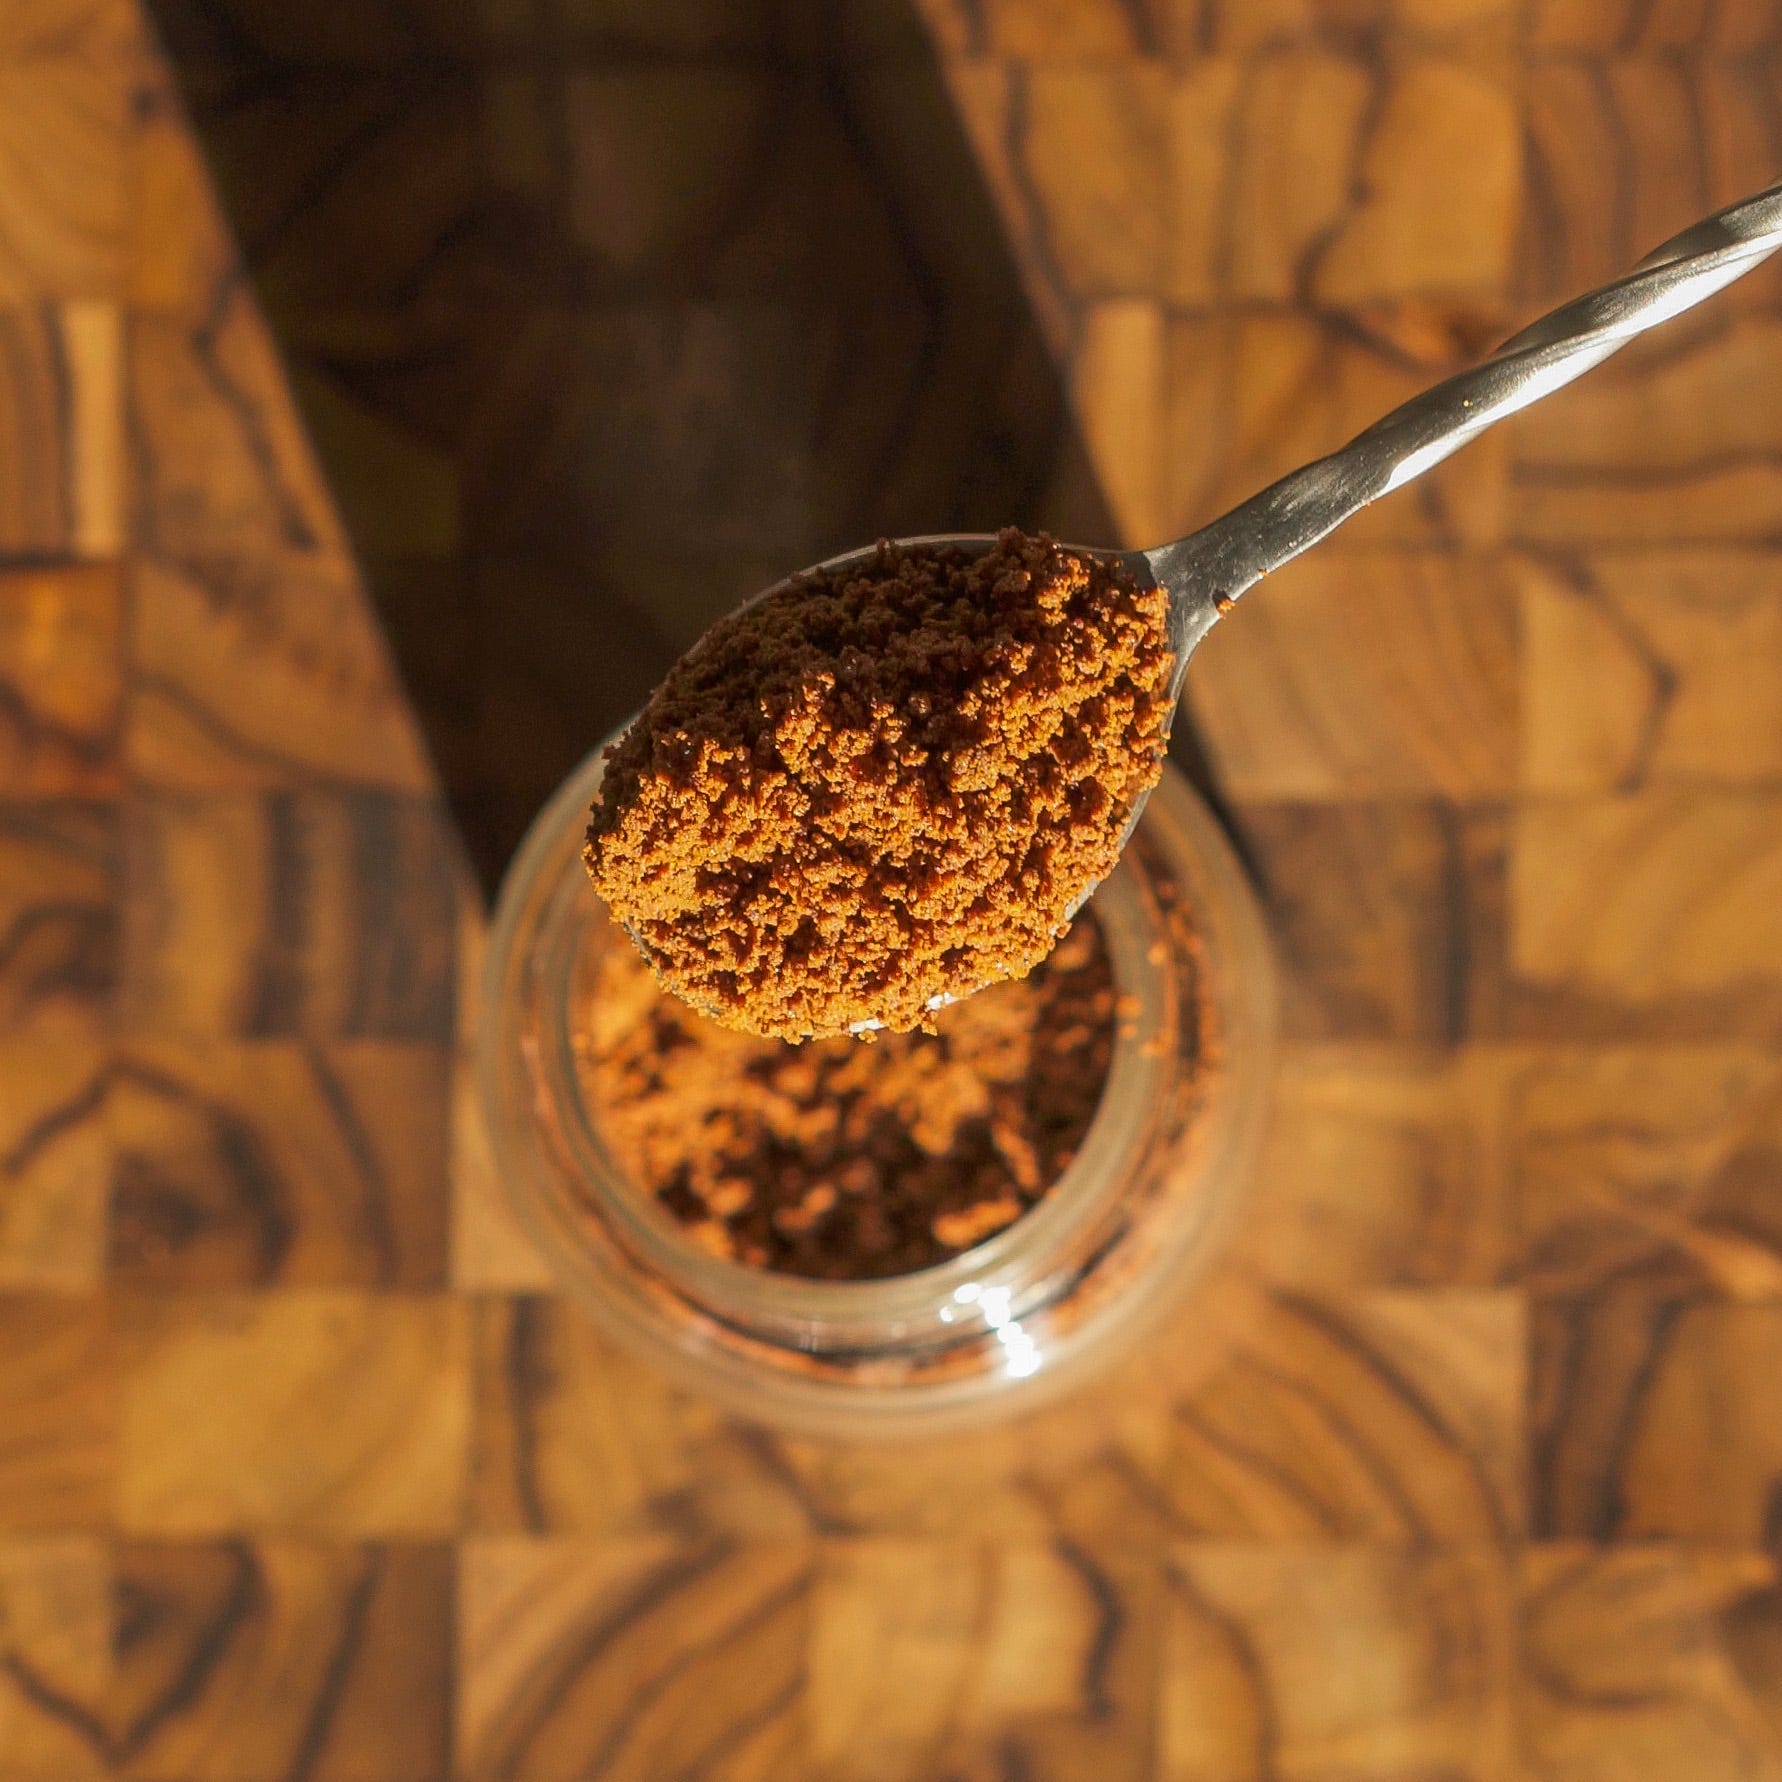
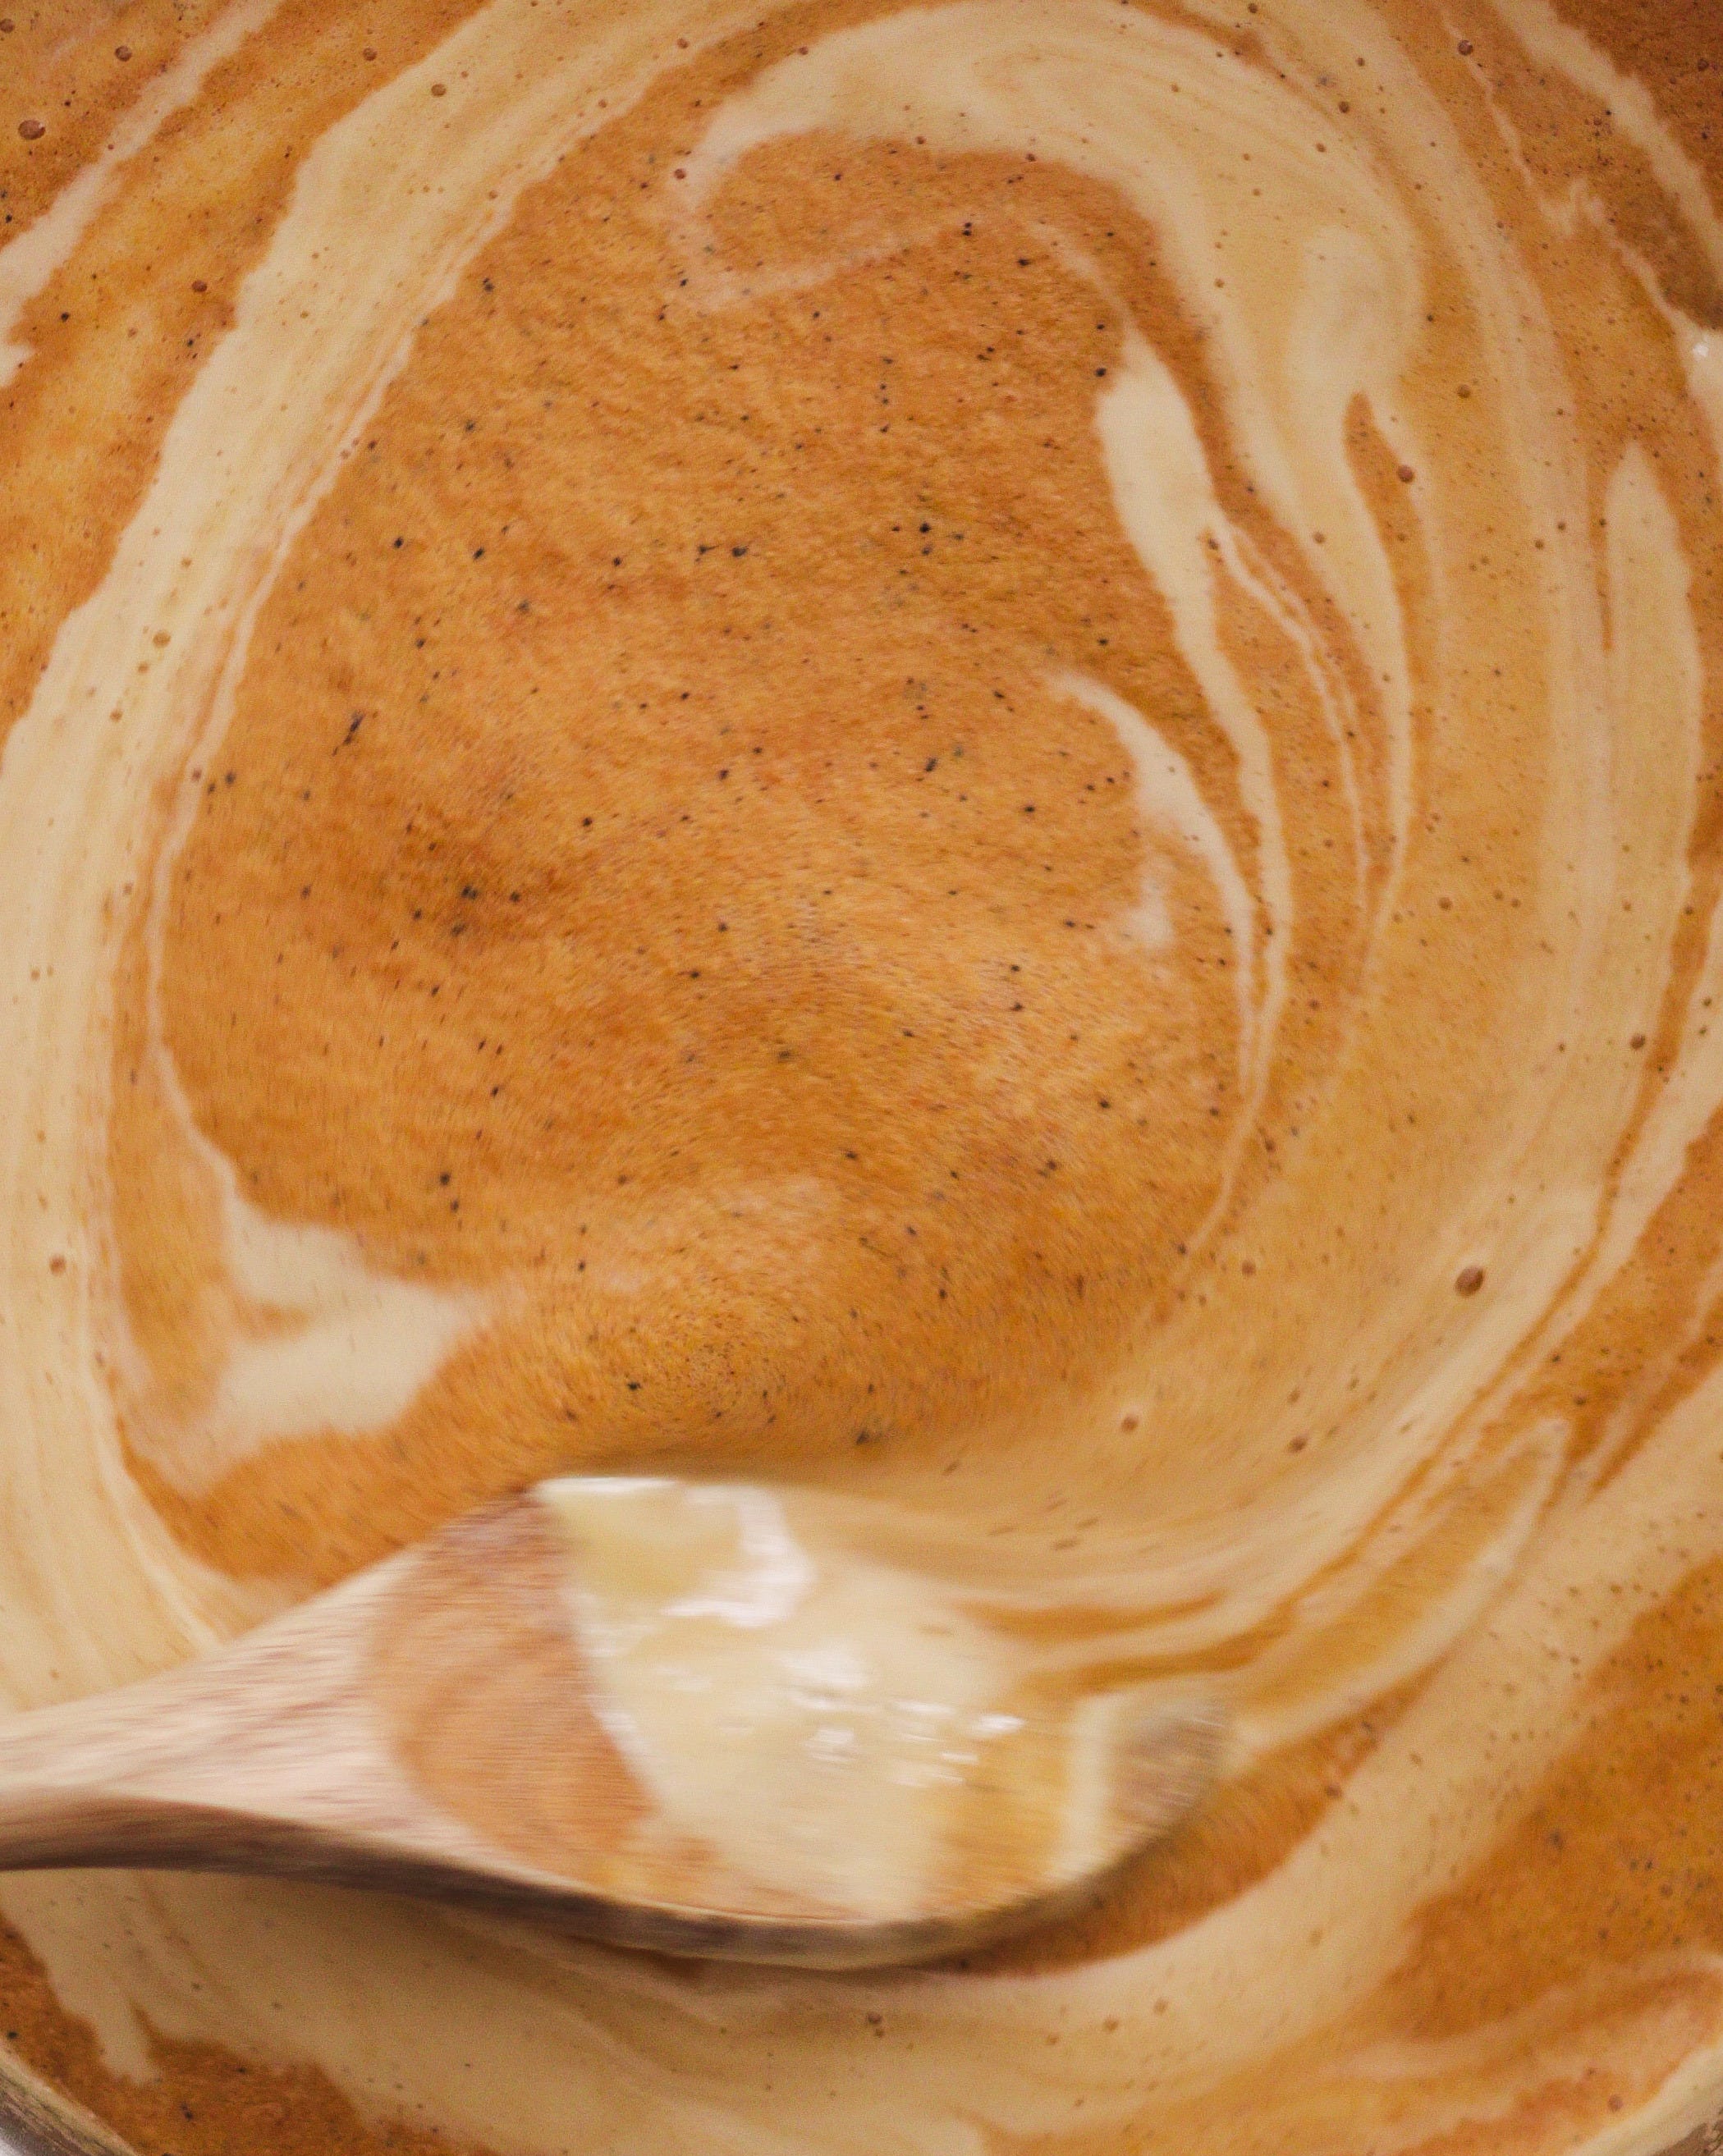
Brown butter is one of the most dramatic transformations in baking. Butter goes from being fatty and neutral in flavor to toasted, nutty, and caramel-like in a matter of seconds.
But there are a couple limitations.
Brown butter is inconvenient.
Don’t have a lot of time?
You’ll still need to babysit and constantly stir the melting butter.
Need a small amount?
You’ll still need to melt at least an entire stick.
Misjudge your pull time?
You’ll have a pan full of burnt butter (I’ve been here more times than I care to admit).
Since brown butter is liquid, it changes structure.
Add it to cookies?
You lose water.
Add it to cake?
You change hydration.
Add it to frosting?
You disrupt emulsification.
These pain points made me question if we could separate the flavor from the structure of brown butter.
What if we could take the toasted milk solids (the real flavor of brown butter) and turn them into something dry, concentrated, and useable?
That’s where brown butter powder comes in.
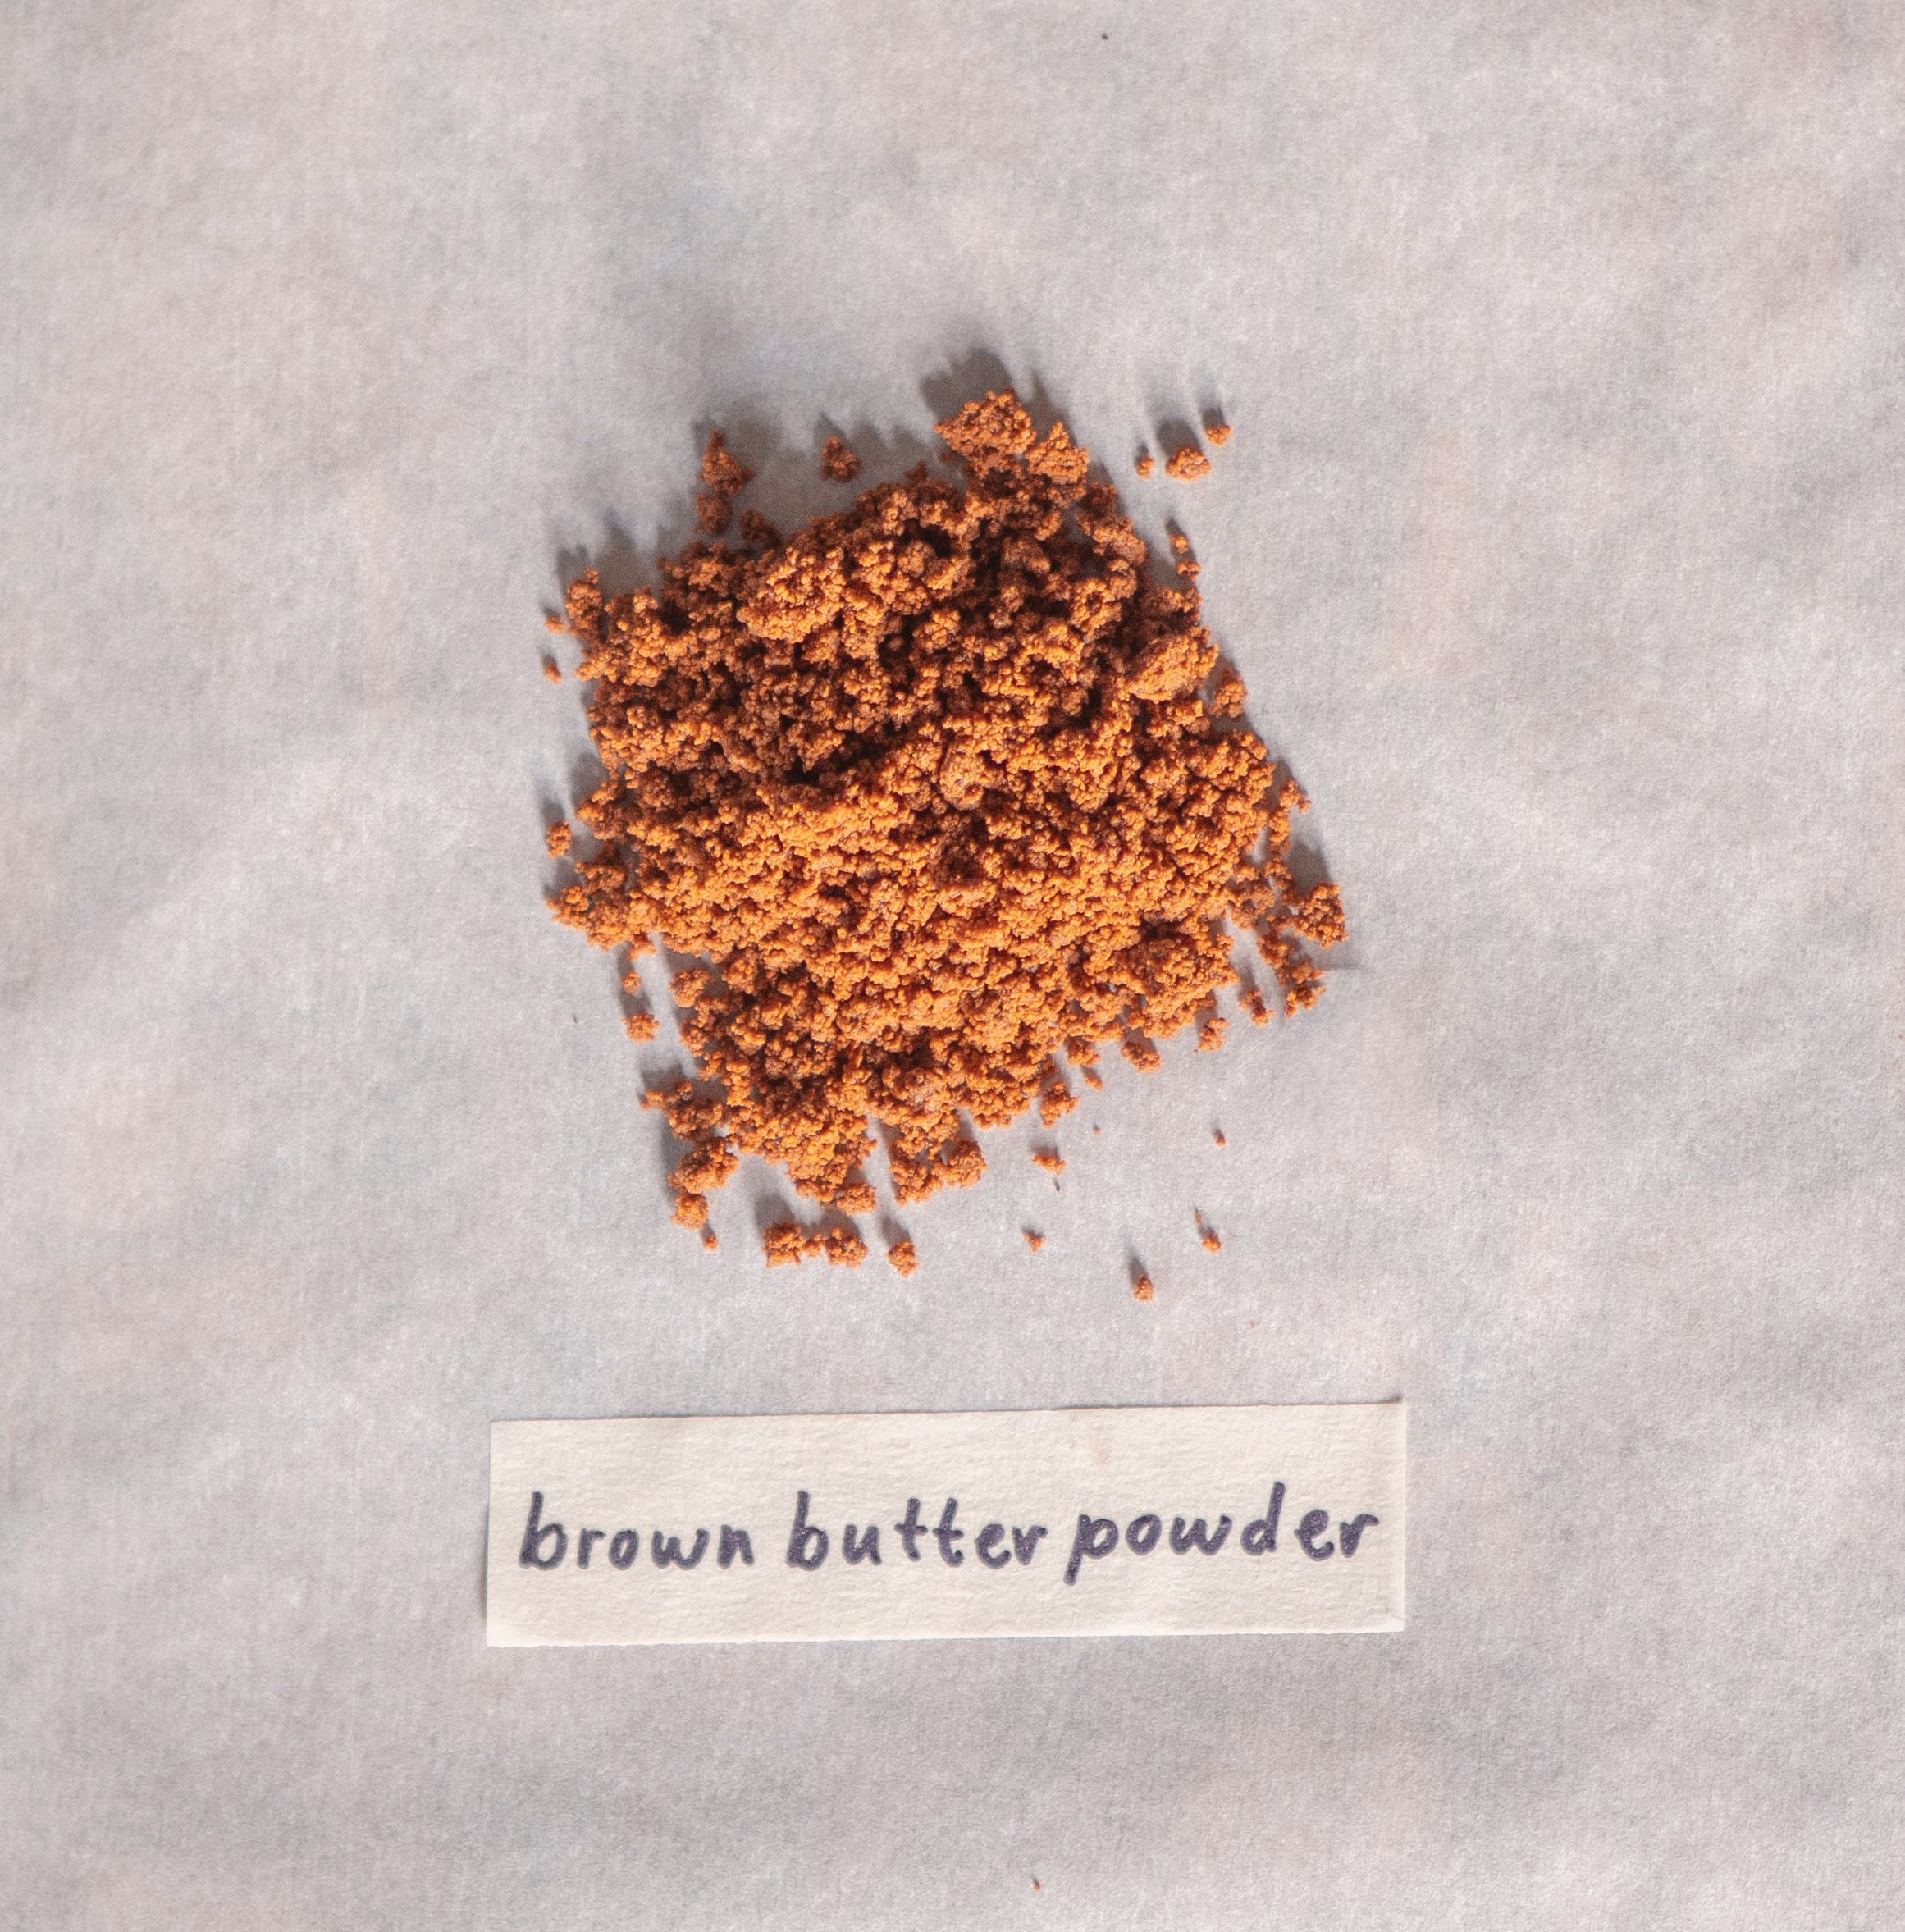
What Is Brown Butter Powder?
Brown butter powder is made by:
Browning butter
Amplifying the toasted milk solids with milk powder
Separating, dehydrating, and grinding those solids into a fine powder
Instead of just isolating what butter naturally contains, we increase the browning reaction itself. This creates more of the nutty, caramelized compounds that make brown butter so irresistible.
The result?
A deeply toasted, concentrated, dry flavor that can be:
Whisked into flour
Folded into streusel
Added to glazes
Sprinkled over whipped cream
Mixed into sugar
Used as a finishing dust
It delivers all the flavor of brown butter without altering hydration, emulsification, or fat ratios.
For a series called Breaking Baking, this felt like the right place to start.
Why Not Just Dry-Toast Milk Powder?
The reason I toast my milk powder in the butterfat instead of using dry heat is that fat helps carry and amplify flavor. As the milk solids brown, their nutty, caramelized aromas dissolve into the butterfat (similar to how spices are often bloomed in oil or milk).
Dry-toasting milk powder works well and produces a toasty dairy flavor, but browning the solids in butterfat creates something closer to the flavor of true brown butter. The goal here was simple: push that nutty, browned-butter flavor as far as possible!
The Science
When you brown butter:
Water evaporates
Milk solids sink
Those milk solids undergo the Maillard reaction
Flavor compounds form
The milk solids are where most of the nutty depth lives. Once fully dehydrated, they can be ground into a powder.
That’s the hack.
We’re isolating the flavor from the fat structure.
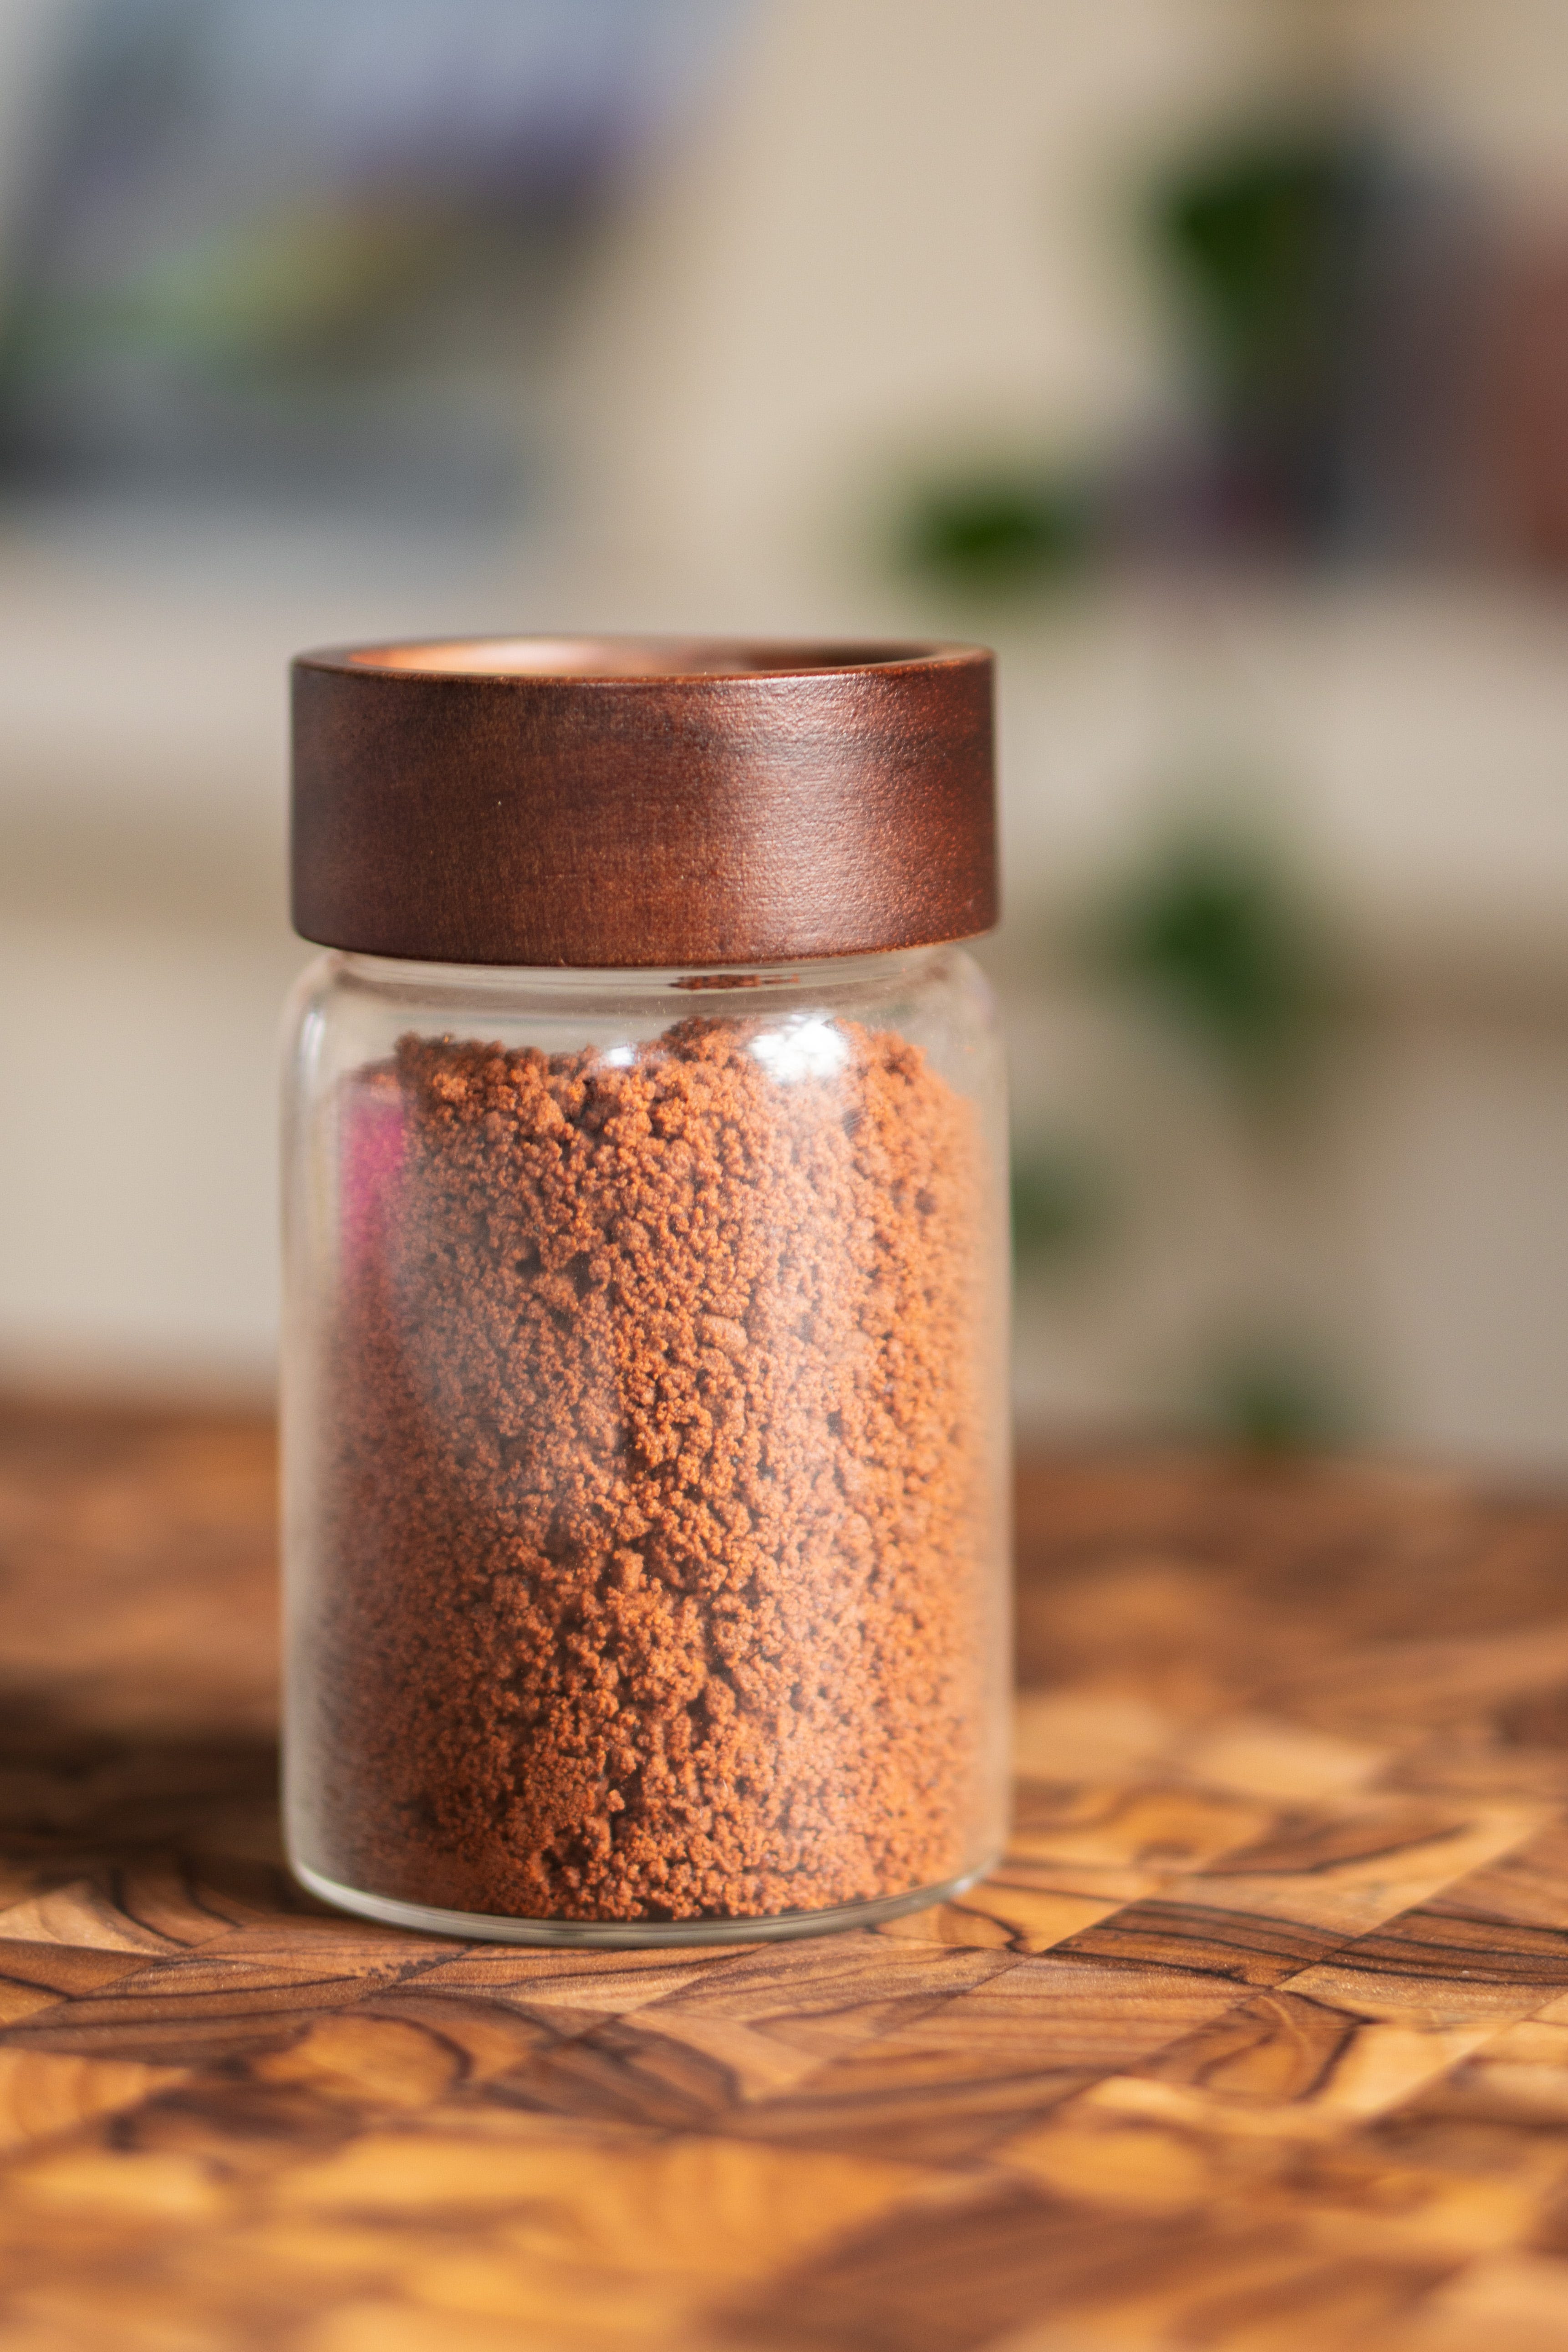
Yield: About 120 to 150 g (Enough for 10–12 bakes, depending on usage)
Time: 60 to 90 minutes (25 minutes active time, plus drying and cooling)
The Ingredients
454 g (2 cups / 4 sticks) unsalted butter
100 g (1 cup) nonfat dry milk powder
Whole milk powder can be used but it’s more prone to clumping
Instructions
1. Make the brown butter. In a large, light-colored saucepan, melt the butter over medium heat. Cook, stirring occasionally, until:
Foaming subsides
Milk solids sink
Butter turns deep amber
Aroma becomes nutty and toasted
Remove from heat immediately once solids are a deep golden brown. Do not let them burn. Pour the mixture through a fine mesh strainer set over a heatproof bowl. The toasted milk solids will remain in the strainer. Gently press to remove excess fat. Set the toasted milk solids aside on a paper towel. Keep the butterfat.
2. Amplify the browning.
Reduce heat to low. Add the melted butterfat back to the pan. Whisk in the milk powder directly into the hot browned butter. Cook 3–6 minutes, stirring constantly. The mixture will:
Thicken
Foam slightly
Turn progressively darker
Develop a toasted, cookie-like aroma
Stop once the mixture is a rich golden-brown (not dark brown).
3. Strain and Separate. Pour mixture through a fine mesh strainer set over a heatproof bowl. Gently press the milk solids to remove excess fat.
Reserve the butterfat for another use.
4. Dehydrated. Spread all the toasted milk solids thinly on a parchment lined baking sheet. Using a paper towel, lightly press on the milk solids to remove excess grease. Dry in the oven at 200°F (93°C) for 20–35 minutes or use a dehydrator at 135°F. Stir once, 15 minutes through the bake. Depending on oven conditions and thickness, drying may take up to 45 minutes. They are ready when:
Fully dry
Crumbly
No visible grease
Break apart easily
Rely on touch and sight for this portion. Not necessarily time.
5. Grind. Transfer dried solids to one of the following:
Spice or coffee grinder (these work very well)
Small blender
Food processor (mini bowl)
Pulse 2–3 seconds at a time. It’s likely that even your dried milk solids will start to become a paste after a pulse or so. If this happens, no need to panic. This is a good sign because it means excess fat is being removed from your milk solids.
Remove all milk solids from the grinder/blender and spread them thinly on a new sheet of parchment. Pat the milk solids with a paper towel to absorb the excess fat.
Dry in the oven at 170–200°F (93°C) for 5–10 minutes max. Remove, them once more, pat the milk solids with a paper towel until you see little to no fat being absorbed by the paper towel. Let it cool for about 60 minutes before storing or grinding further (if you desire a fine powder).
A bit of moisture is okay before storing, but don’t be afraid to let the powder dry beyond 60 minutes if needed.
Store airtight at room temperature for up to 3 weeks for peak flavor. Beyond 5 weeks, aroma will fade.
Usage Guide
In Flour-Based Bakes
(Added directly to dry ingredients)
Use based on flour weight:
2–4% of flour weight → subtle warmth
5–8% of flour weight → noticeable brown butter flavor
9–12% of flour weight → bolder flavor in cookies and great for crumble toppings (like streusel)
Example:
For 200 g flour:
4–8 g = subtle
10–16 g = somewhat pronounced
18–24 g = bold but still balanced
Whisk into flour before combining with wet ingredients for even distribution.
Note: In flour-based doughs and batters, the brown butter flavor can sometimes read as more subtle than expected. Ingredients like sugar, eggs, and fats naturally compete with or dilute the flavor. If you’re looking for a stronger brown butter presence, feel free to experiment slightly above the ranges listed here!
In Sugar
(Flavor-infused sugar)
Mix into granulated sugar:
1 tsp per cup sugar → lightly aromatic
2–3 tsp per cup sugar → noticeable flavor
1 Tbsp per cup sugar → brown butter sugar
Let it rest for 5–10 minutes after mixing for more even aroma (kind of like when making cinnamon sugar).
Use cases for the brown butter powder:
Add to cookies
Sprinkle on popcorn
Fold into streusel
Mix into glaze
Dust over pancakes or donuts
Mix into whipped cream
Notes
Is your brown butter powder too dark?
If the final powder looks very dark brown (bordering on chocolate-colored), the milk solids may have over-browned.
Try tasting it.
If it’s:
Bitter
Sharp
Slightly acrid
It likely went too far.
To prevent this next time:
Remove butter from heat as soon as solids turn deep golden brown
Keep heat low when toasting the added milk powder
Dry gently — you’re removing moisture, not deepening color
Once burnt, it can’t be fixed. I’ve tried to think of ways to revive, but ultimately it must be remade.
Too many clumps?
A few small clumps are normal and can be broken up. Large, sticky clumps usually mean:
Residual moisture
Or fat release during grinding
If you are using whole milk powder, some small clumping is normal and benign.
To fix this:
Return solids to a low oven (200°F) for 5–10 minutes
Pat solids with paper towel
Cool completely
Re-grind
If still greasy, they were ground while warm.
Avoid grinding milk solids while warm.
If ground while warm, residual butterfat can liquefy and coat the particles.
This causes:
Clumping
A paste-like texture
Loss of that fine, sandy powder structure
Always allow solids to cool completely before grinding.
Sift after grinding.
For an ultra-fine texture, sift the powder after grinding. Re-grind any larger particles.
This step is optional, but useful if incorporating into delicate batters or glazes.
I hope these notes are helpful for you guys. I definitely learned some things by trial and error and wanted to share.

If you’ve read this far, thanks for stopping by the Nook.
This project took a bit of time and persistence, but I’d say it paid off.
I hope this brown butter powder can become a staple in your pantry and save you some time and peace of mind.
Breaking Baking is an ongoing series where we design useful ingredient systems, streamline the tedious, and rethink what’s possible in our kitchens. New experiments drop periodically.
The Breakfast Nook is a reader-supported publication. To receive recipes, new entries for ongoing series, and to support my work, consider becoming a free subscriber!
This is genius! 🤩🤩
Hi again! I finally got around to doing this and it took me 4 hours (to be fair im a snail and that includes cooling times) but after all that I think it's burnt. 😭 I think i know where i went wrong. My sieve was just a tad to large so a bunch of brown bits fell through into the hot butter browning it more and I used a bowl that wasn't deep enough at first so the powder touched the hot butter browning it more. I tasted it and it didn't taste acidic or off so I continued and made the milk powder part. I think i over cooked that a tad as well. I was confused about where you said to set the toasted milk solids aside on a papertowel did you mean dump them on or just set the strainer on a paper towel? I drained mine in a strainer for 30 minutes and spread it as thin as possible on the baking sheet and it took 57 minutes to not look oily or feel oily. I let it cool over an hour then blended and followed the directions for the second dry dabbing it several times with a paper towel. Do you have any photos of what color the butter and milk solids should be before the oven? I think I was afraid to under brown and ended up over browning. I know this was 100% my fault and I went wrong somewhere. I am going to try again next week! I also halved the recipe just incase it went wrong and it's a good thing i did haha. I used non fat milk powder and kerrygold unsalted butter. Could the butter type be why it's so oily? Any advice is appreciated I'd like to get this right. I won't give up! Thank you