
Chocolate Pool Cookies
Bakery-style chocolate chip cookies with glossy pools of chocolate in the centers and soft middles.

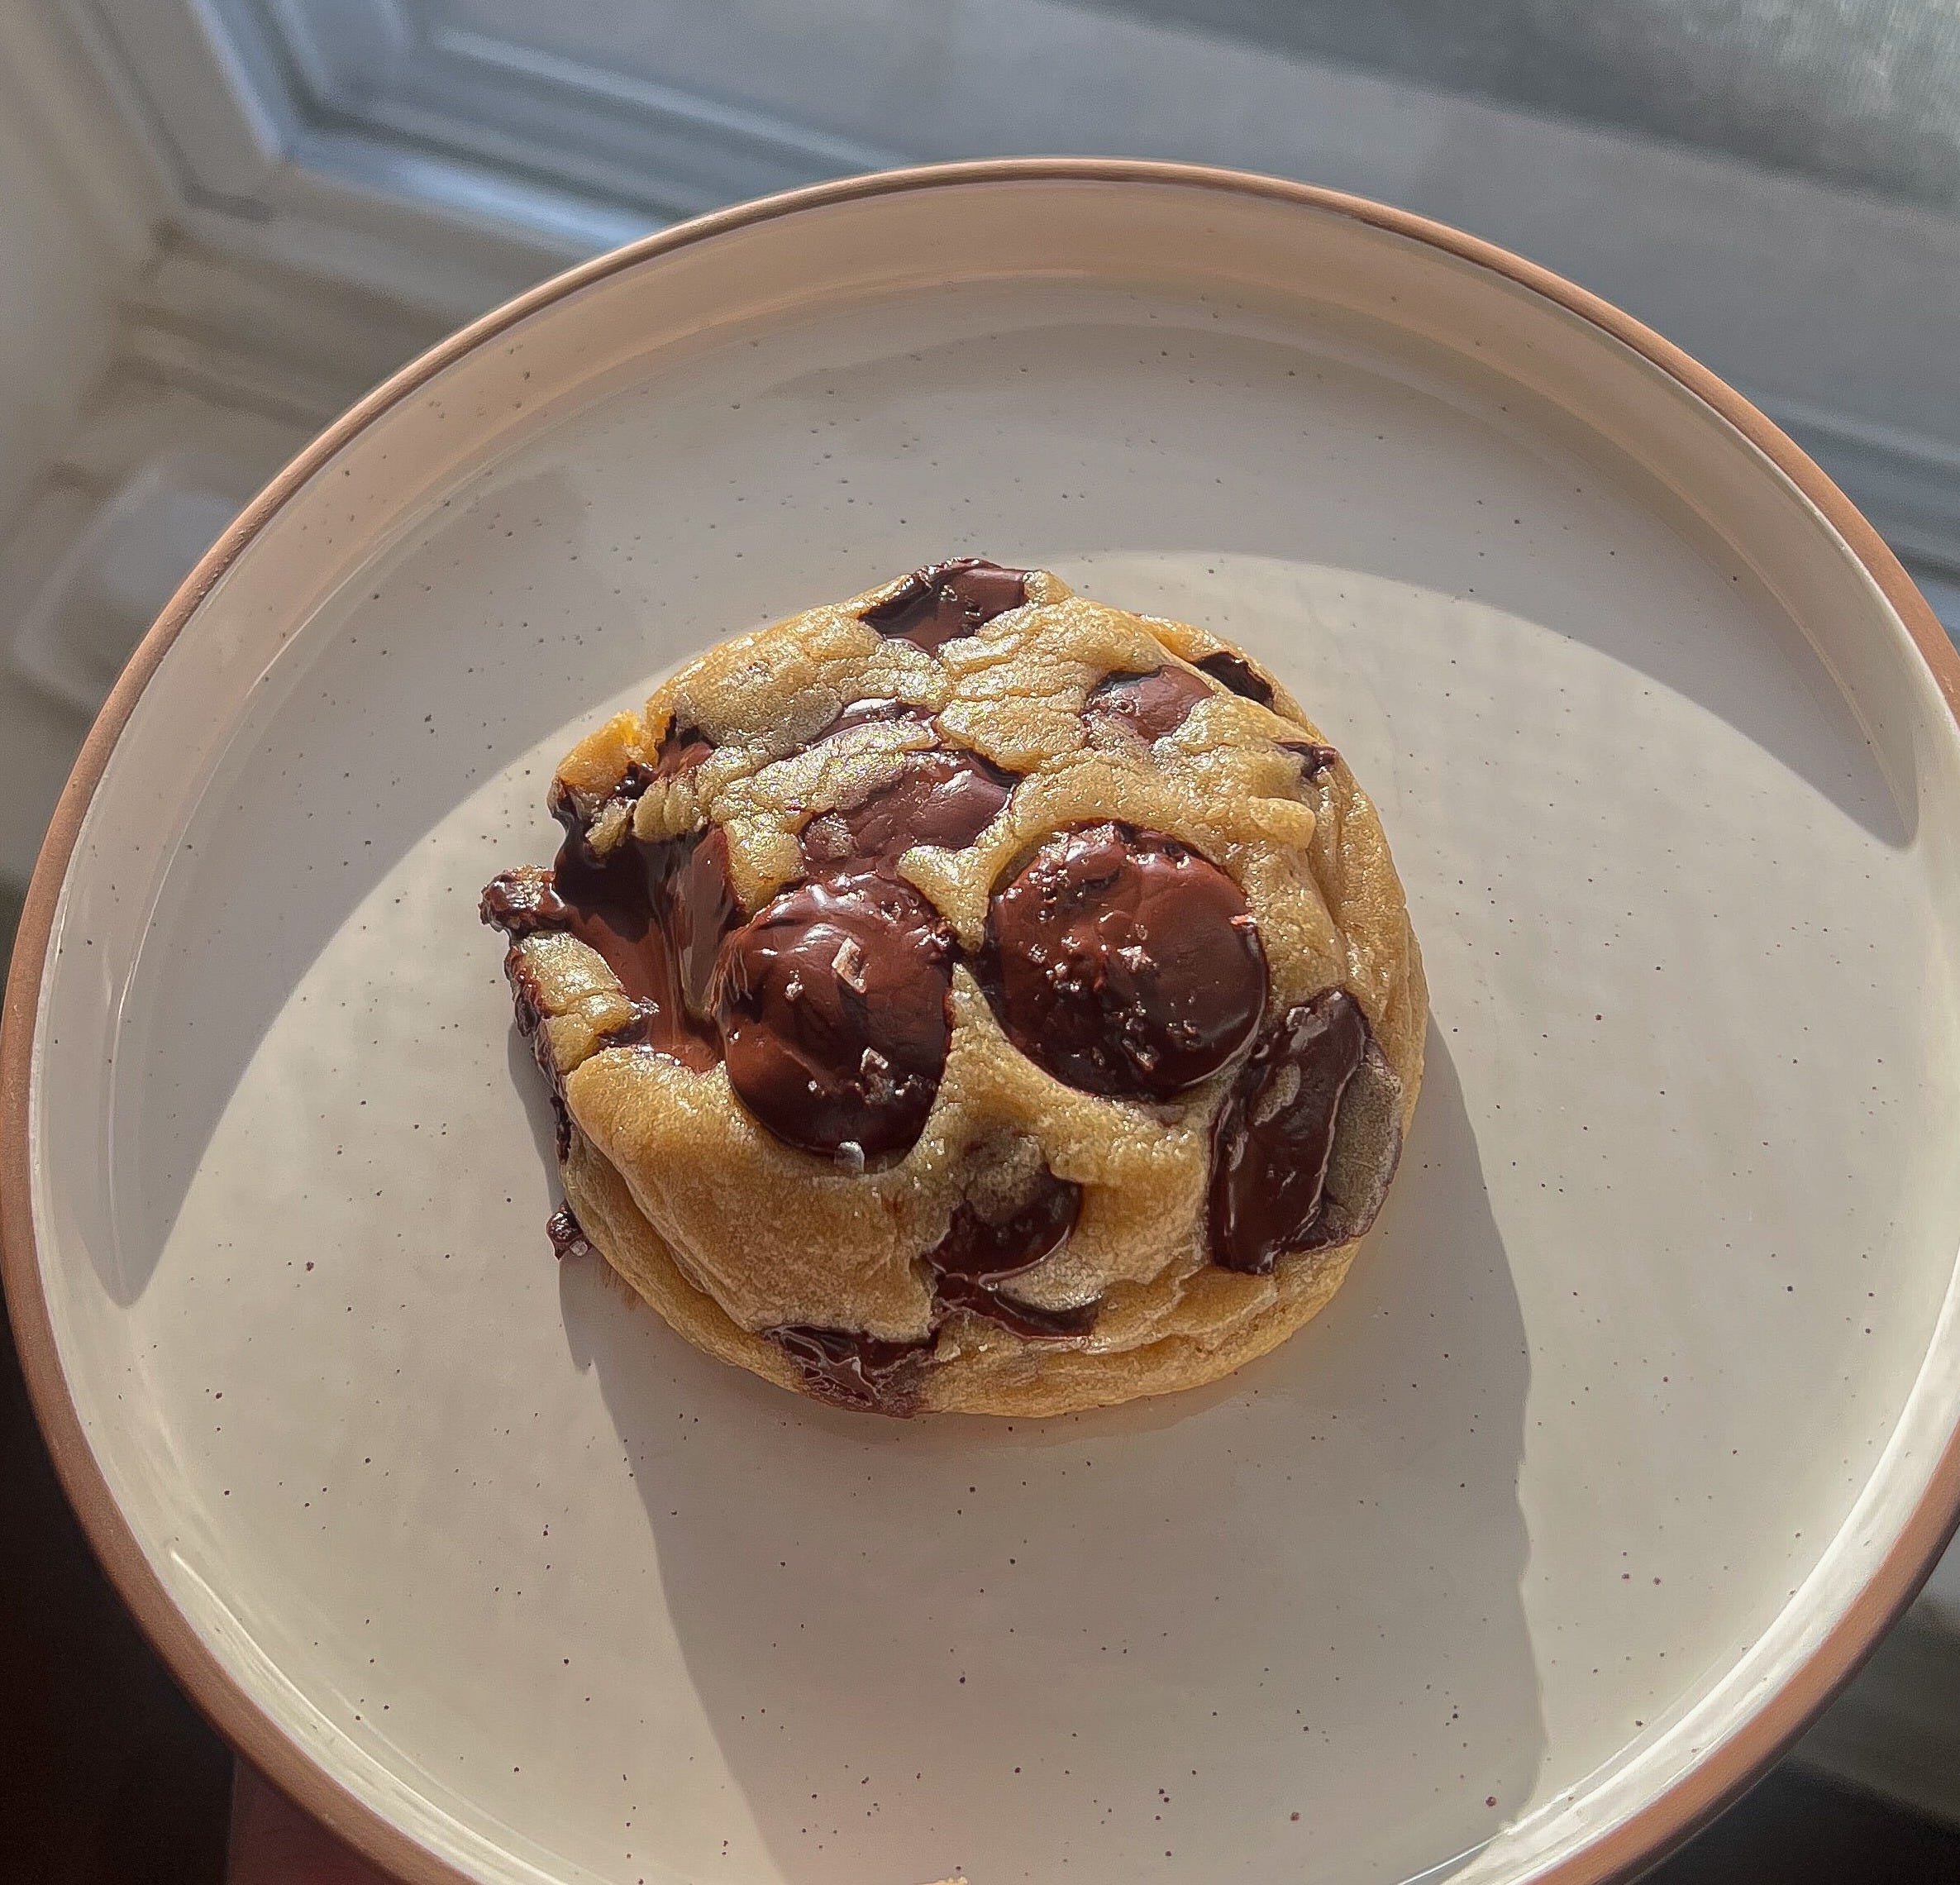
This is a chocolate-forward cookie.
I’ve worked on a lot of chocolate chip cookie recipes over the years. Sometimes I tweak the sugar, sometimes the butter, sometimes the bake. But in all those variations, I kept overlooking the most important part of a chocolate chip cookie.
Drum roll, please.
The chocolate.
Yes, I know. Groundbreaking stuff. But these are the cookies that finally made me a purist again.
These Chocolate Pool Cookies are built around the chocolate first. Glossy pools, soft centers, and just enough dough to hold everything together. They’re simple, intentional, and designed to be made at home!
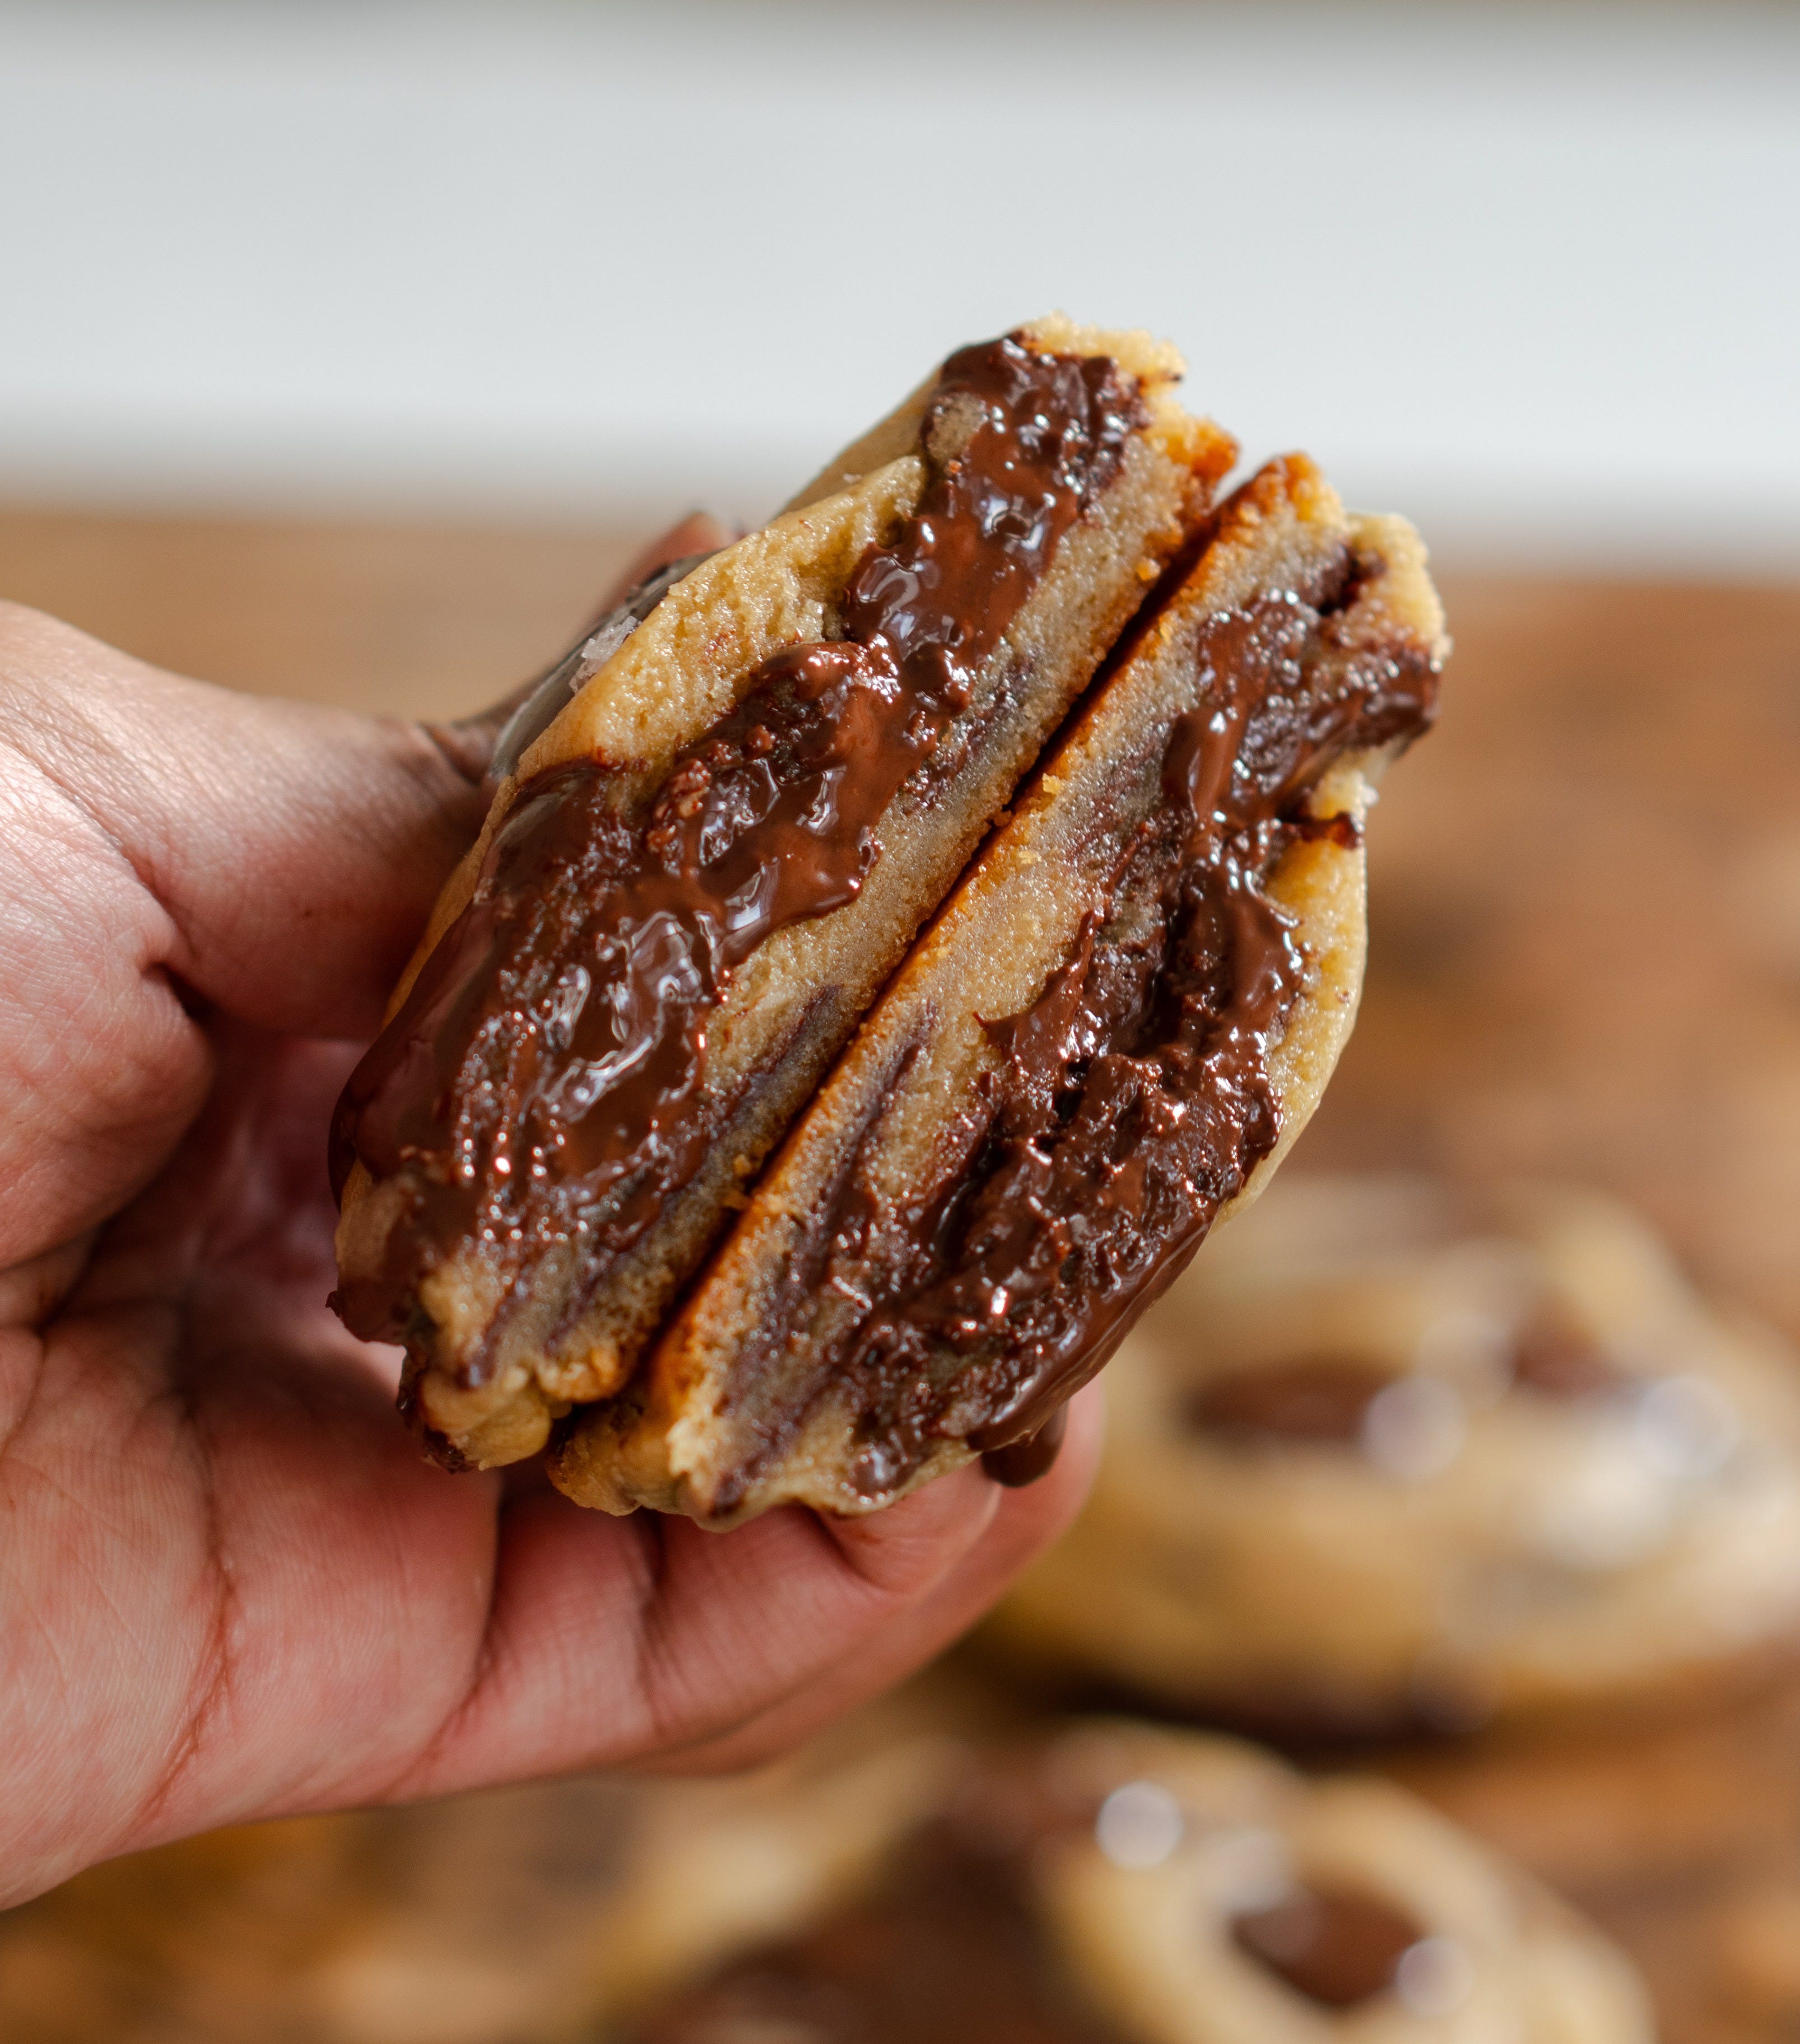
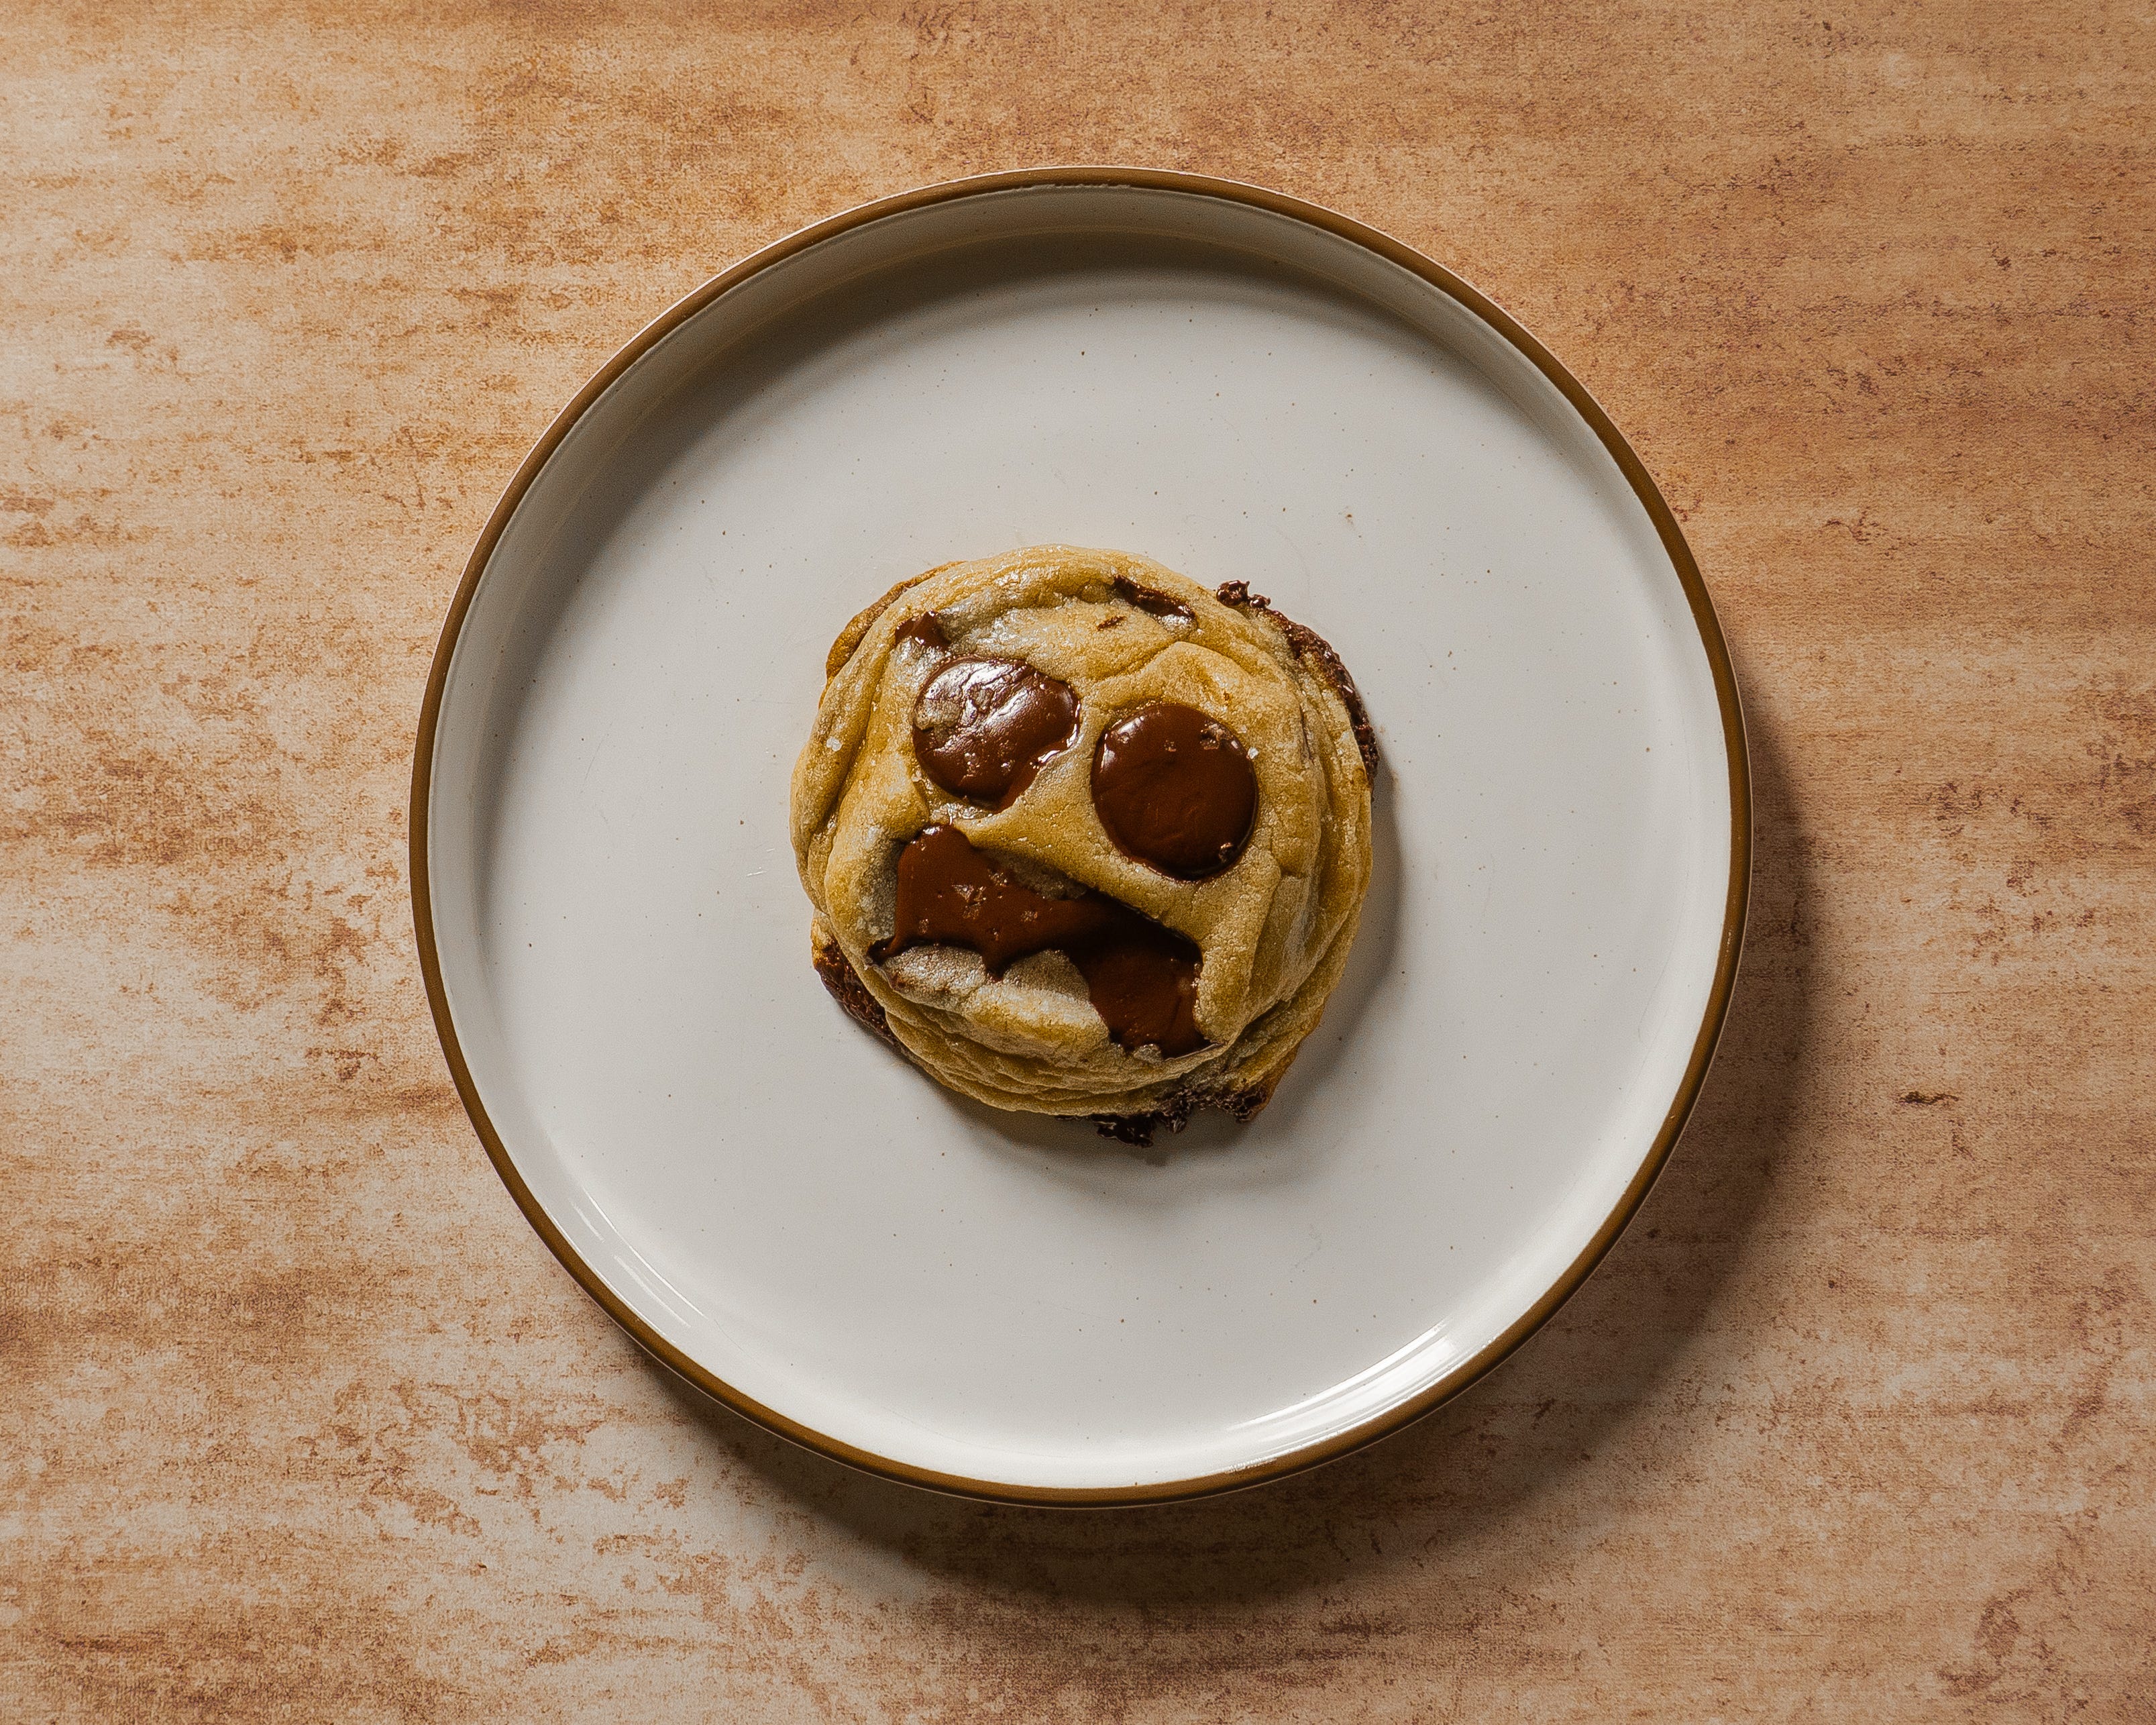
These chocolate pool cookies are easy to make, and I sized them large for that classic bakery-style look.
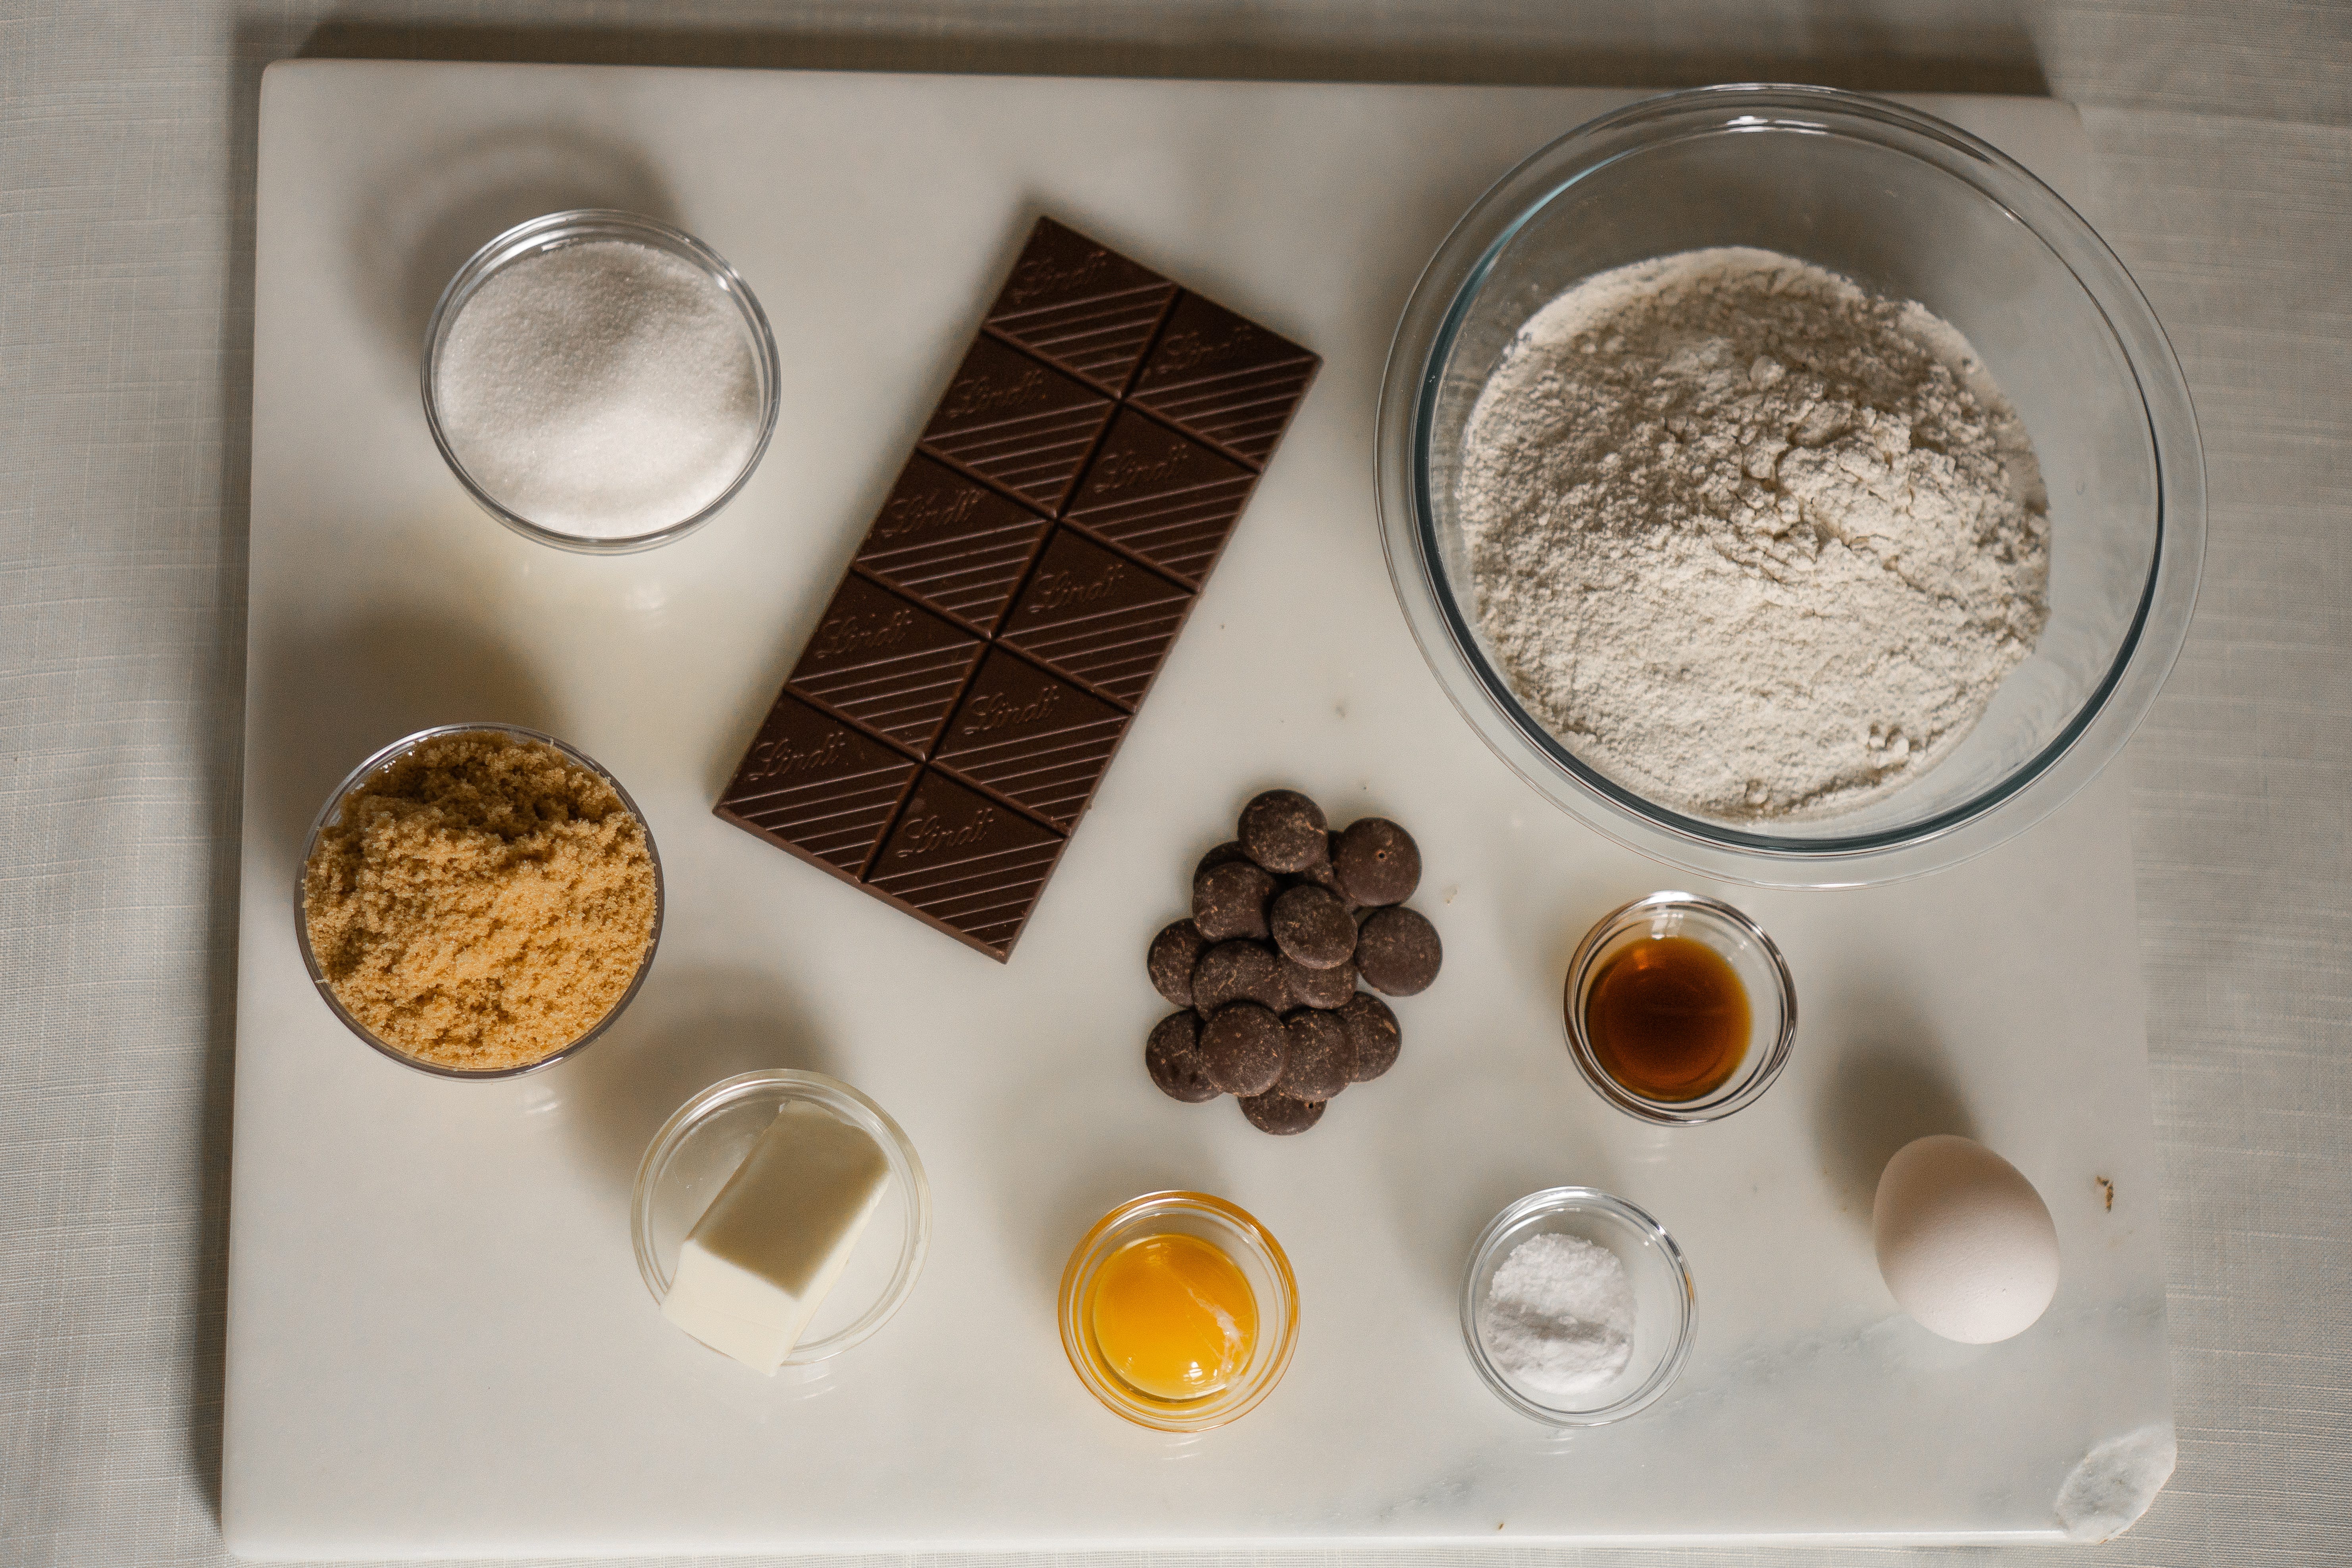
The Ingredients
Dry
300 g (2½ cups) all-purpose flour
1 teaspoon (4 g) baking soda
¾ teaspoon (4 g) fine or kosher salt
Wet
170 g (¾ cup / 12 Tbsp) unsalted butter, soft but still cool
150 g (¾ cup, packed) light brown sugar
100 g (½ cup) granulated sugar
1 large egg
1 large egg yolk
2 teaspoons vanilla extract
Chocolate
220–250 g (about 8–9 oz) chocolate total, divided:
1 dark chocolate bar (around 60–70% cacao), rough-chopped (most chocolate bars are about 100 g / 3.5 oz)
The rest: chocolate wafers or fèves (reserve a few for topping)
Flaky salt, for finishing (optional)
Recommended chocolate bars for this recipe include dark chocolate bars in the ~60–70% cacao range:
70% Lindt EXCELLENCE Cocao
Ghirardelli 60–70% Bittersweet
Guittard Extra Dark 70%
All in all, use your favorite quality chocolate. Just avoid very high cacao percentages (80%+) as this can affect the melt and flavor balance.
No scale? If you don’t have a scale, using one standard chocolate bar and filling in the rest with chocolate wafers works perfectly.
Instructions
1. Prepare the pan and oven. Preheat the oven to 400°F / 205°C. Line a light-colored baking sheet with parchment paper and set aside. If baking multiple trays, bake one tray at a time for the most consistent results. Note: If possible, use a light-colored baking sheet for even browning. If using a darker pan, check the cookies a minute earlier.
2. Mix the dry ingredients. In a medium bowl, whisk together the flour, baking soda, and salt until evenly combined. Set aside.
3. Cream the butter and sugars. In a large mixing bowl, add the butter, brown sugar, and granulated sugar. Beat until smooth and fully combined, but not fluffy.
4. Add the whole egg, yolk, and vanilla. Add the whole egg, egg yolk, and vanilla extract to the butter mixture. Mix until just incorporated and glossy.
5. Combine wet and dry ingredients. Add the dry ingredients to the bowl and mix on low speed until the flour is almost fully absorbed. Stop as soon as the dough comes together to avoid over-mixing, which can tighten the crumb.
6. Fold in the chocolate. Roughly chop the chocolate bar into medium pieces, then add it to the dough along with most of the chocolate wafers, reserving a few wafers for topping. Using a spatula, fold gently until evenly distributed.
7. Portion and shape the dough. Divide the dough into large portions and shape each into a tall puck rather than a ball. This shape encourages thicker cookies with a soft center and controlled spread. I like to make pucks that weigh 115–120 g (8 cookies / big bakery style) or 92–96 g (10 cookies / large).
8. Top with additional chocolate. Press a few extra pieces of chocolate wafers (or fèves) into the top of each dough puck to ensure visible chocolate pools on the surface after baking.
9. Chill the dough. Transfer the shaped dough pucks to the refrigerator and chill for at least 2 hours, or preferably overnight. If you don’t want to wait overnight, the cookies will still bake up thick and chocolatey after a shorter chill. Overnight chilling simply helps the dough hydrate more fully and makes the bake a bit more consistent.
10. Bake. Place the chilled dough pucks onto the prepared baking sheet, spacing them well apart. Bake straight from the refrigerator for 8–10 minutes, until the edges are set and the centers still appear slightly underdone.
11. Rest and serve! Remove the cookies from the oven and let them rest on the baking sheet for 5 minutes. This allows the cookies to set while keeping the centers soft. Serve warm for the best texture.
Storage & Handling
For the dough:
Shaped dough can be refrigerated for up to 2 days, tightly covered. For longer storage, freeze dough portions until solid, then store in an airtight container or freezer bag. Bake directly from frozen, adding a minute or two as needed.
Baked cookies:
Store baked cookies in an airtight container at room temperature for up to 4 days. For the best texture, enjoy within the first couple of days. Cookies can be gently warmed to restore softness. To reheat, microwave a cookie for 12–15 seconds.
Notes and Substitutions
Chocolate options.
This recipe is intentionally chocolate-forward. Using a mix of chocolate wafers/fèves and chopped bar chocolate creates both smooth pools and irregular melt throughout the cookie. If you can buy wafers or fèves, you will not be disappointed.
Chocolate chips alone will work, but the cookies will have a more uniform look and less dramatic melt.
Butter types.
Unsalted butter gives you the most control over salt content. If using salted butter, reduce the added salt slightly. I don’t recommended brown butter for this version, as it reduces moisture and shifts the flavor away from a clean chocolate focus.
Possible flavor additions (extracts).
From time to time, I love to add almond extract to these cookies. However, it should be used in very small amounts if desired. It’s best treated as a subtle variation rather than a defining flavor.
Vanilla extract adds warmth and balance and should not be removed. If using almond extract, keep the vanilla present. No change is needed for the amount of vanilla.
Things to Consider
Dough temperature matters.
This dough benefits from chilling. Cold dough:
Holds its shape better
Bakes more evenly
Produces thicker cookies with softer centers
For best results, bake the dough straight from the refrigerator.
Shape affects the bake.
Shaping the dough into tall pucks instead of balls encourages thickness and reduces excessive spread. This small step has a noticeable impact on the final texture.
Bake by look, not just time.
Ovens vary. The cookies are ready when the edges look set and the centers still appear soft and slightly under-baked. They will continue to set as they cool.
How to make Chocolate Pool Cookies
Did You Like This Recipe?
I’d love to hear from you in the comments! I always enjoy helping when I can and love hearing about any changes you made to the recipe. Thanks for reading!
The Breakfast Nook is a reader-supported publication. To receive new recipes, helpful guides, and to support my work, consider becoming a free subscriber!