
Lychee Rose Snack Cake
An easy lychee snack cake with a light pink crumb, subtle rose notes, and a reduced lychee syrup drizzle. Soft, plush, and baked in one pan.

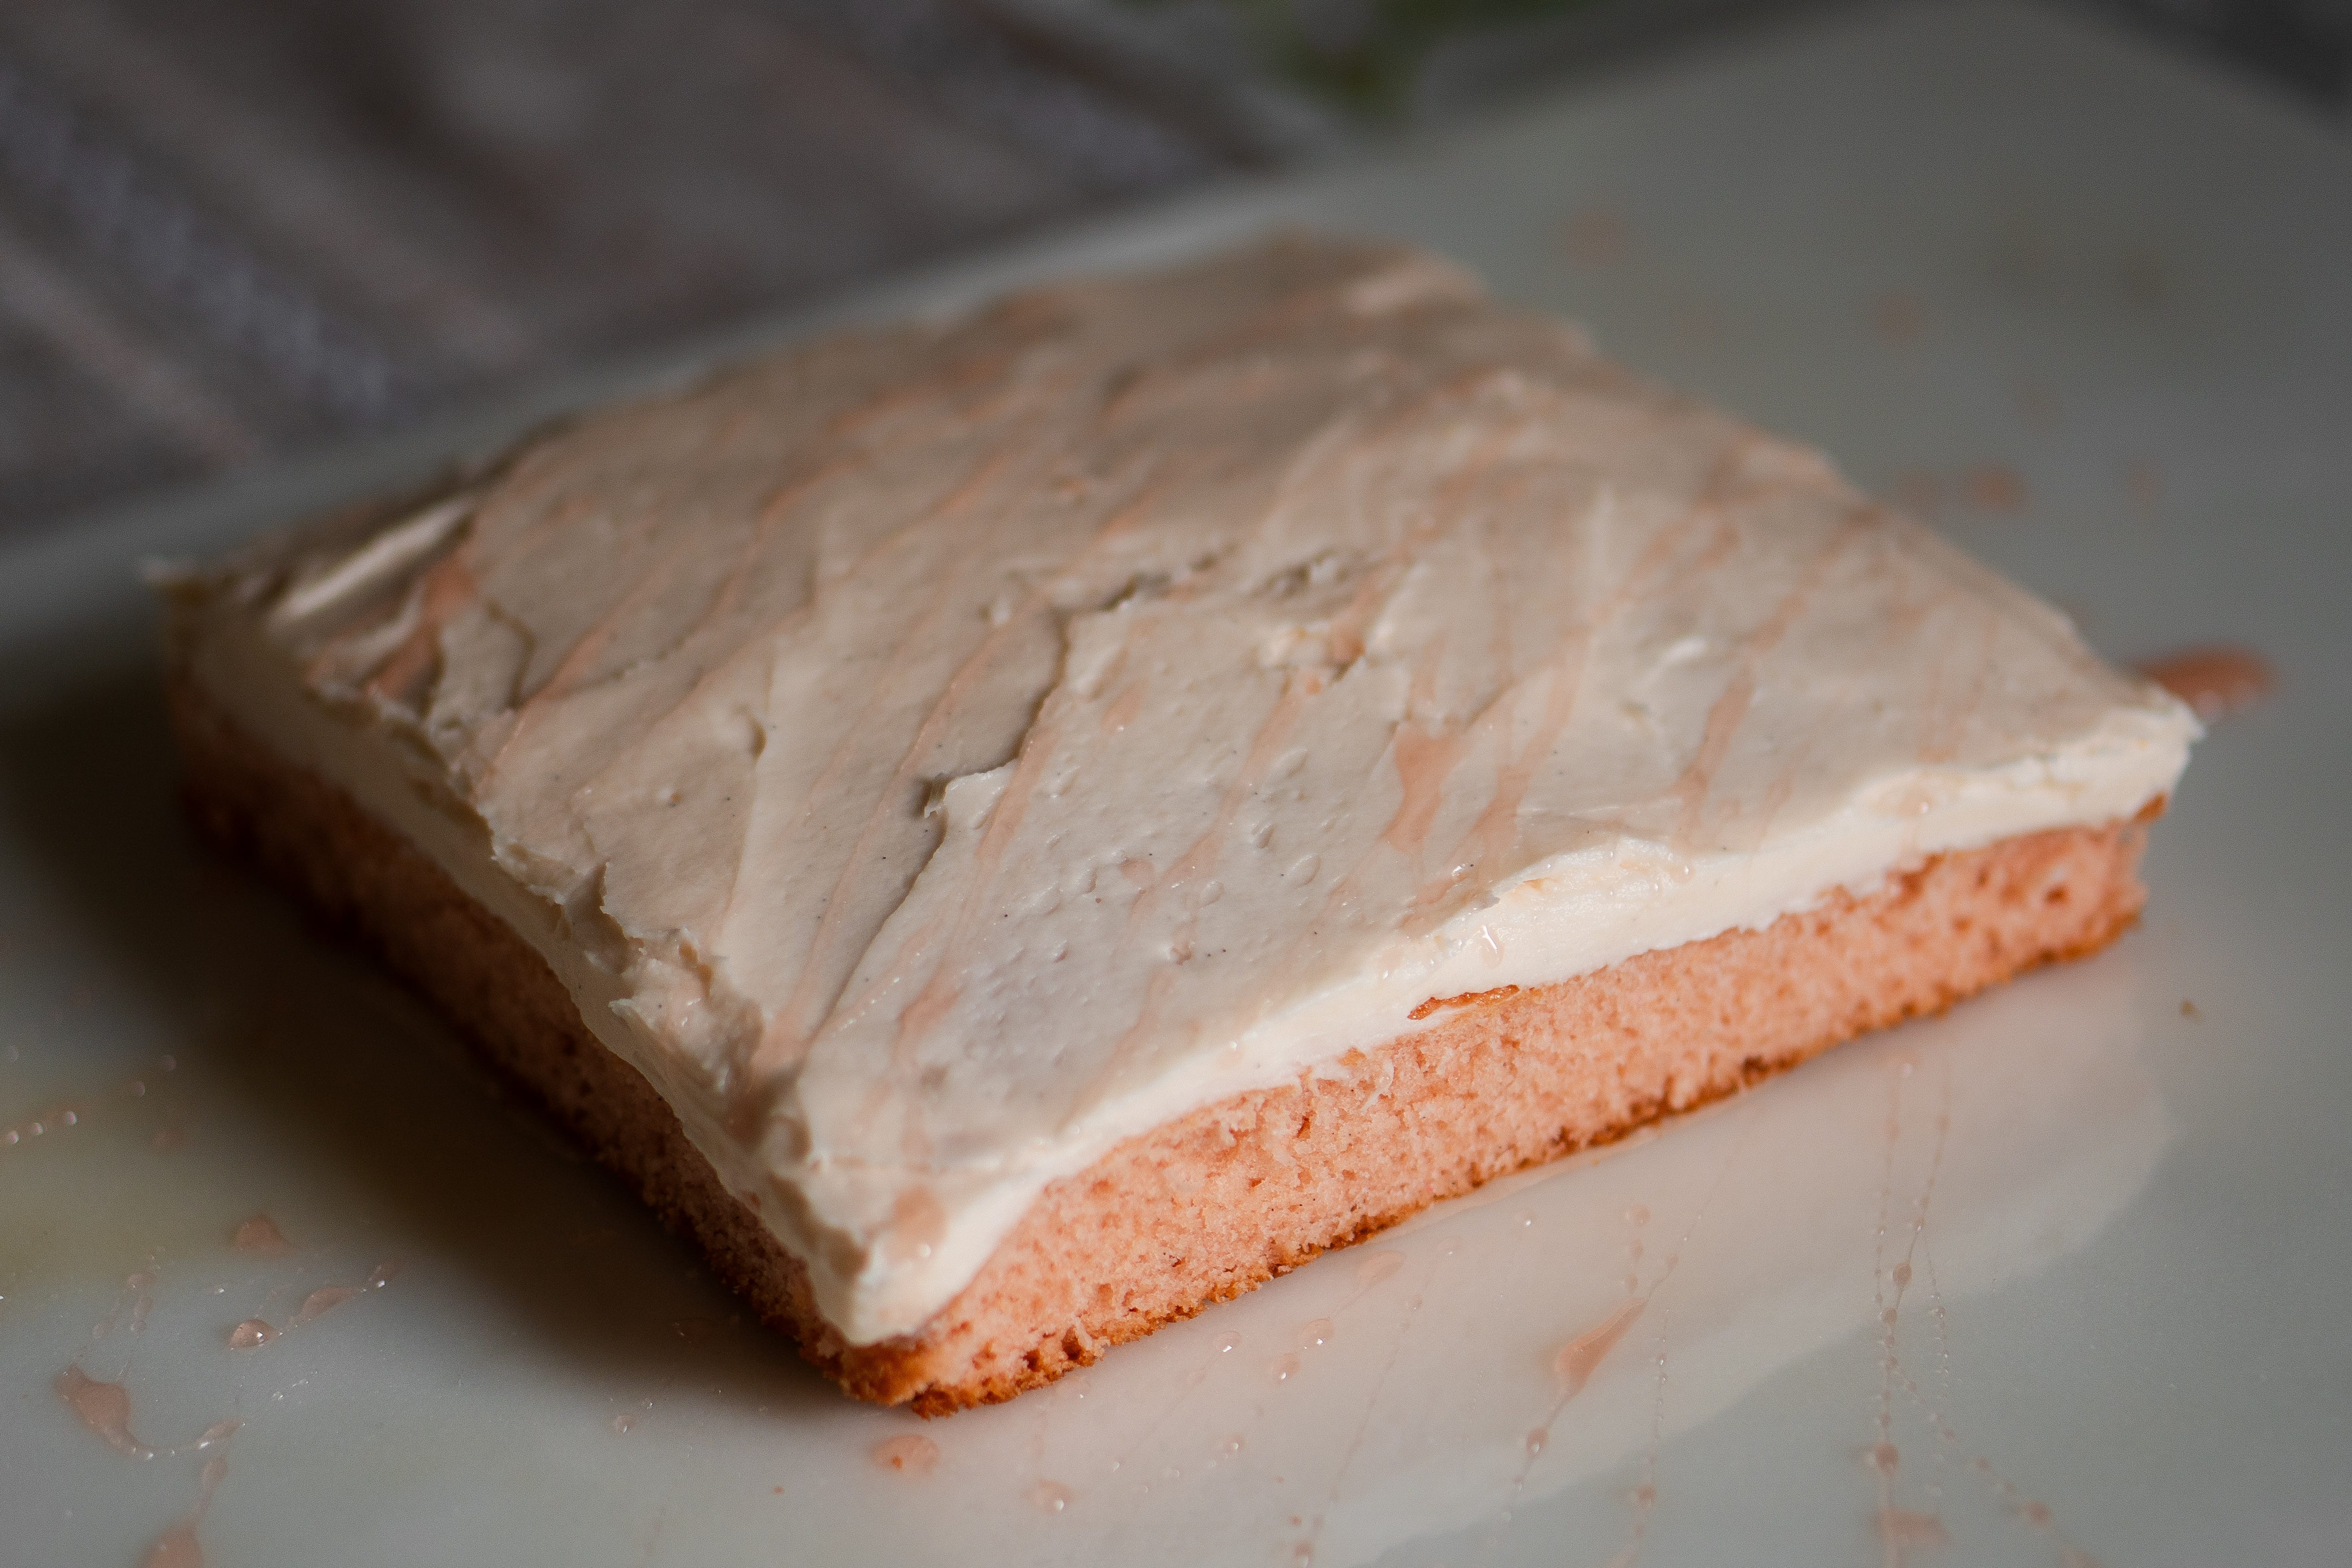
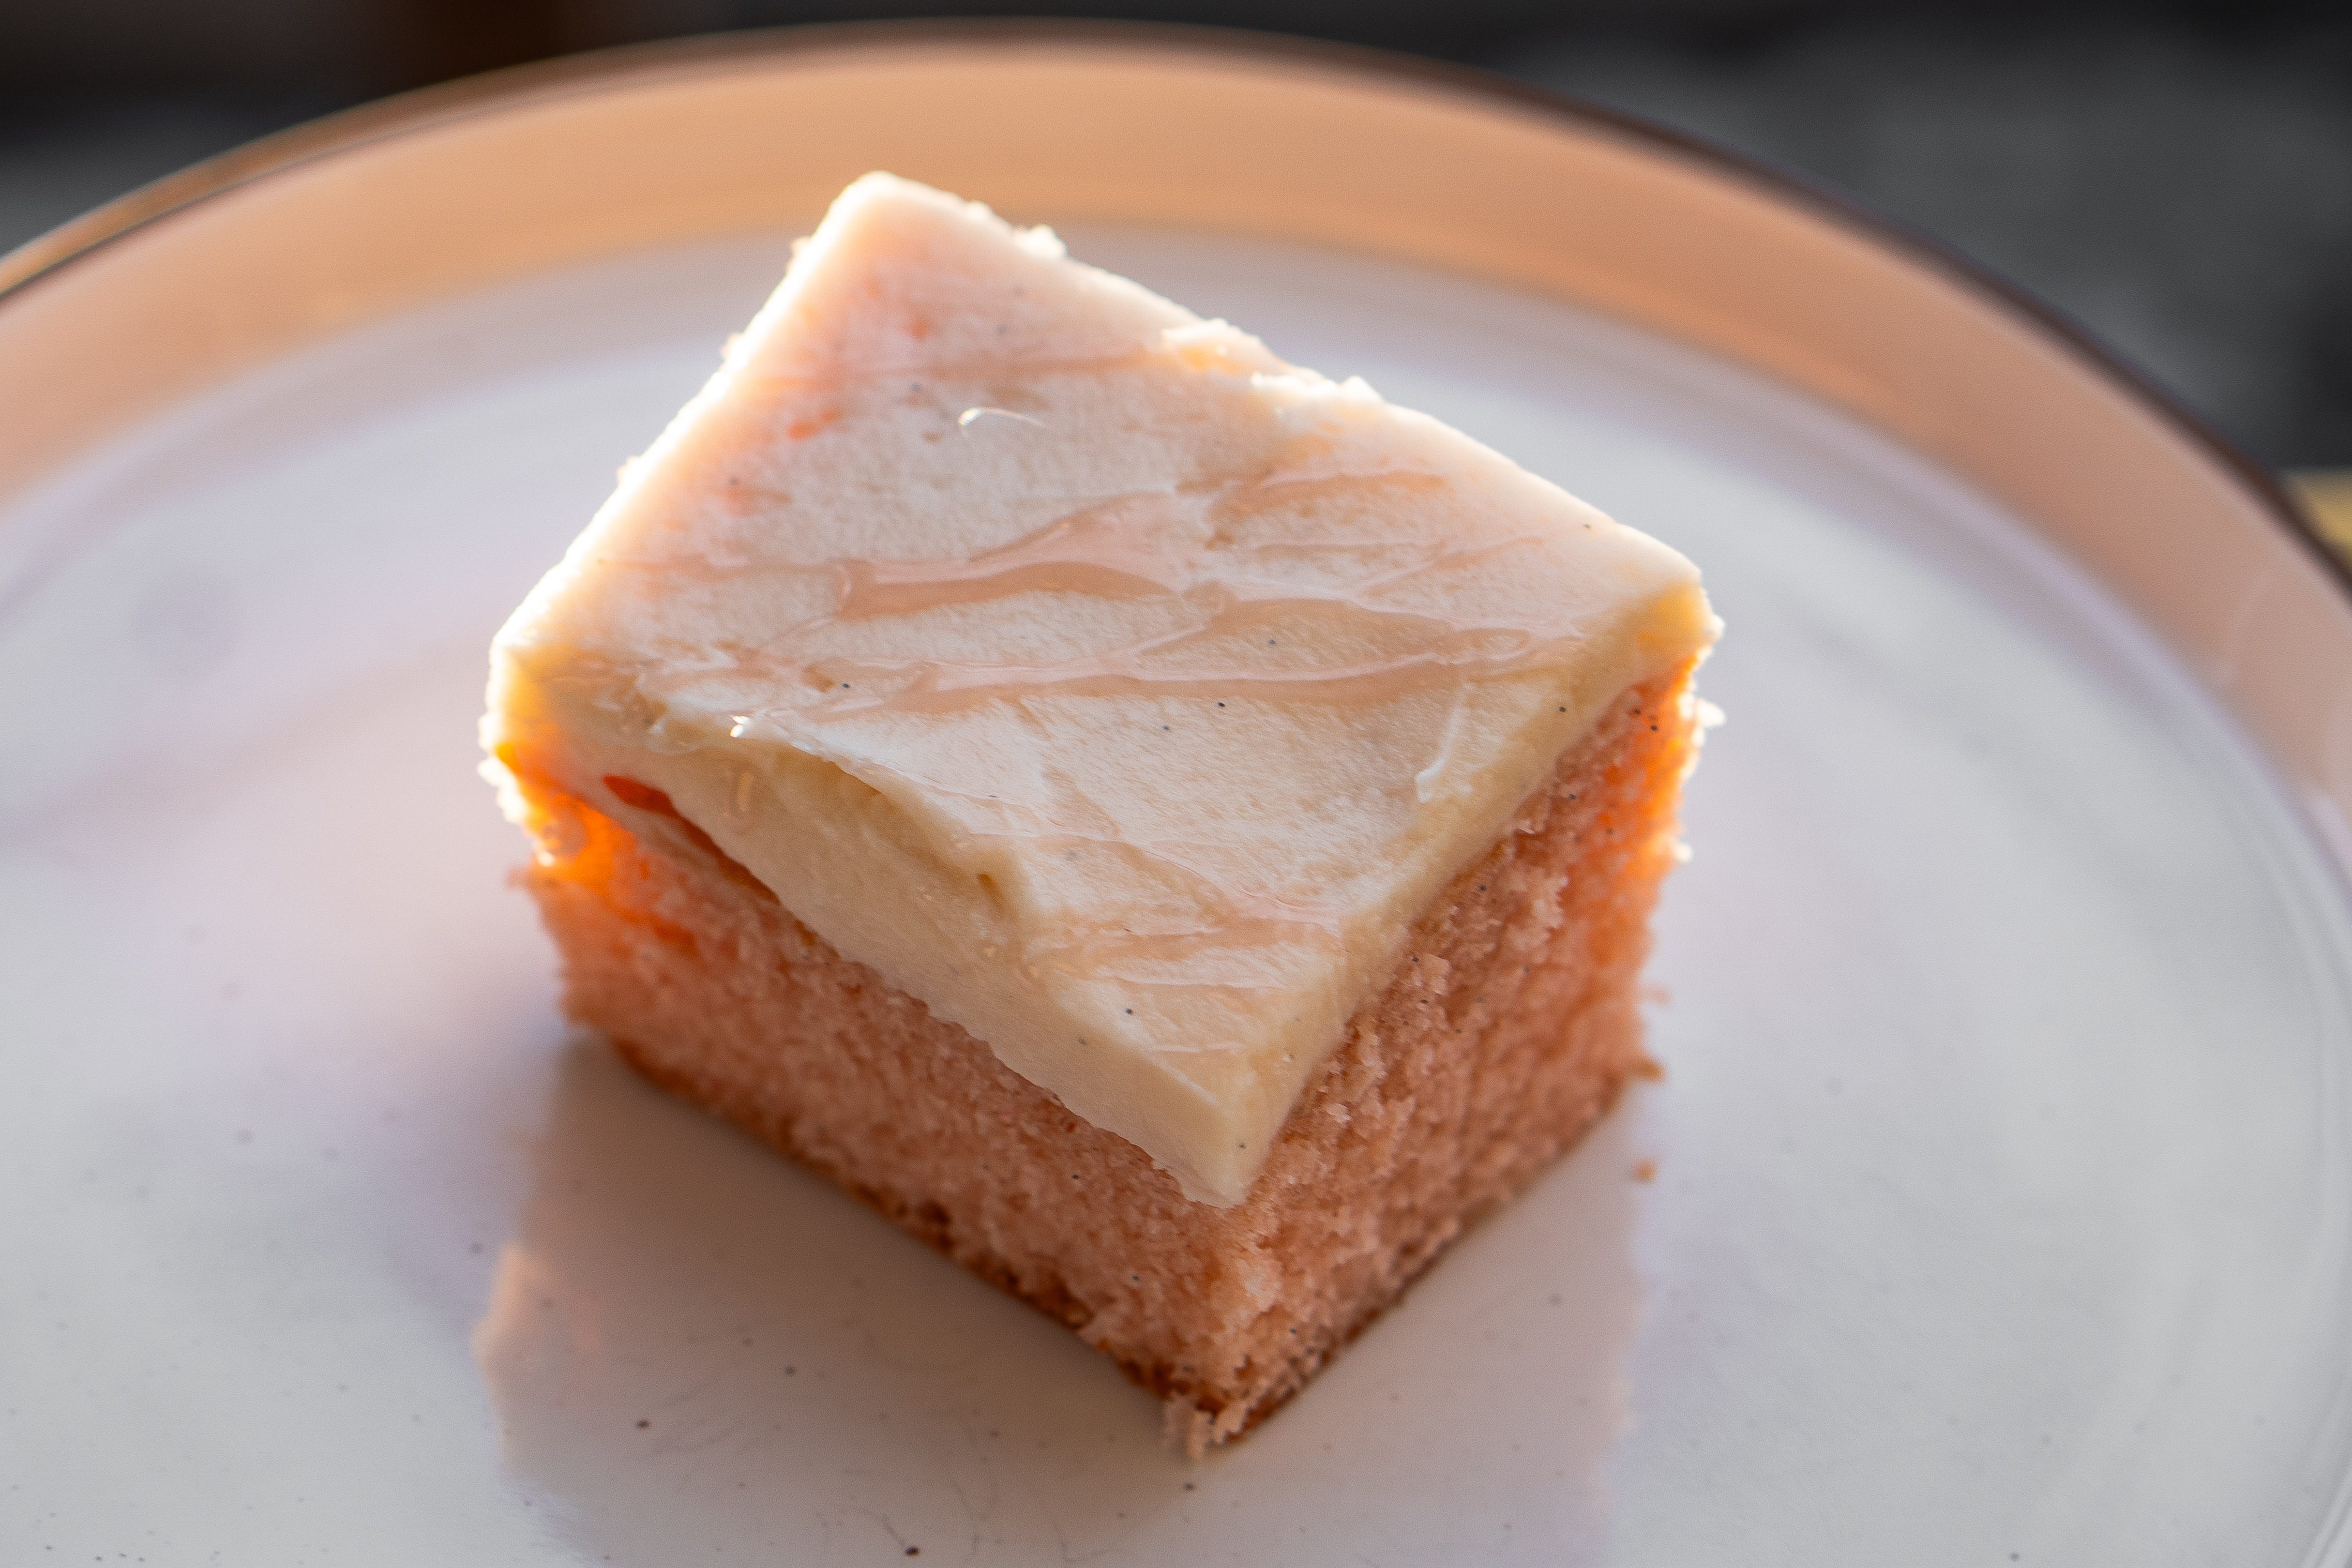
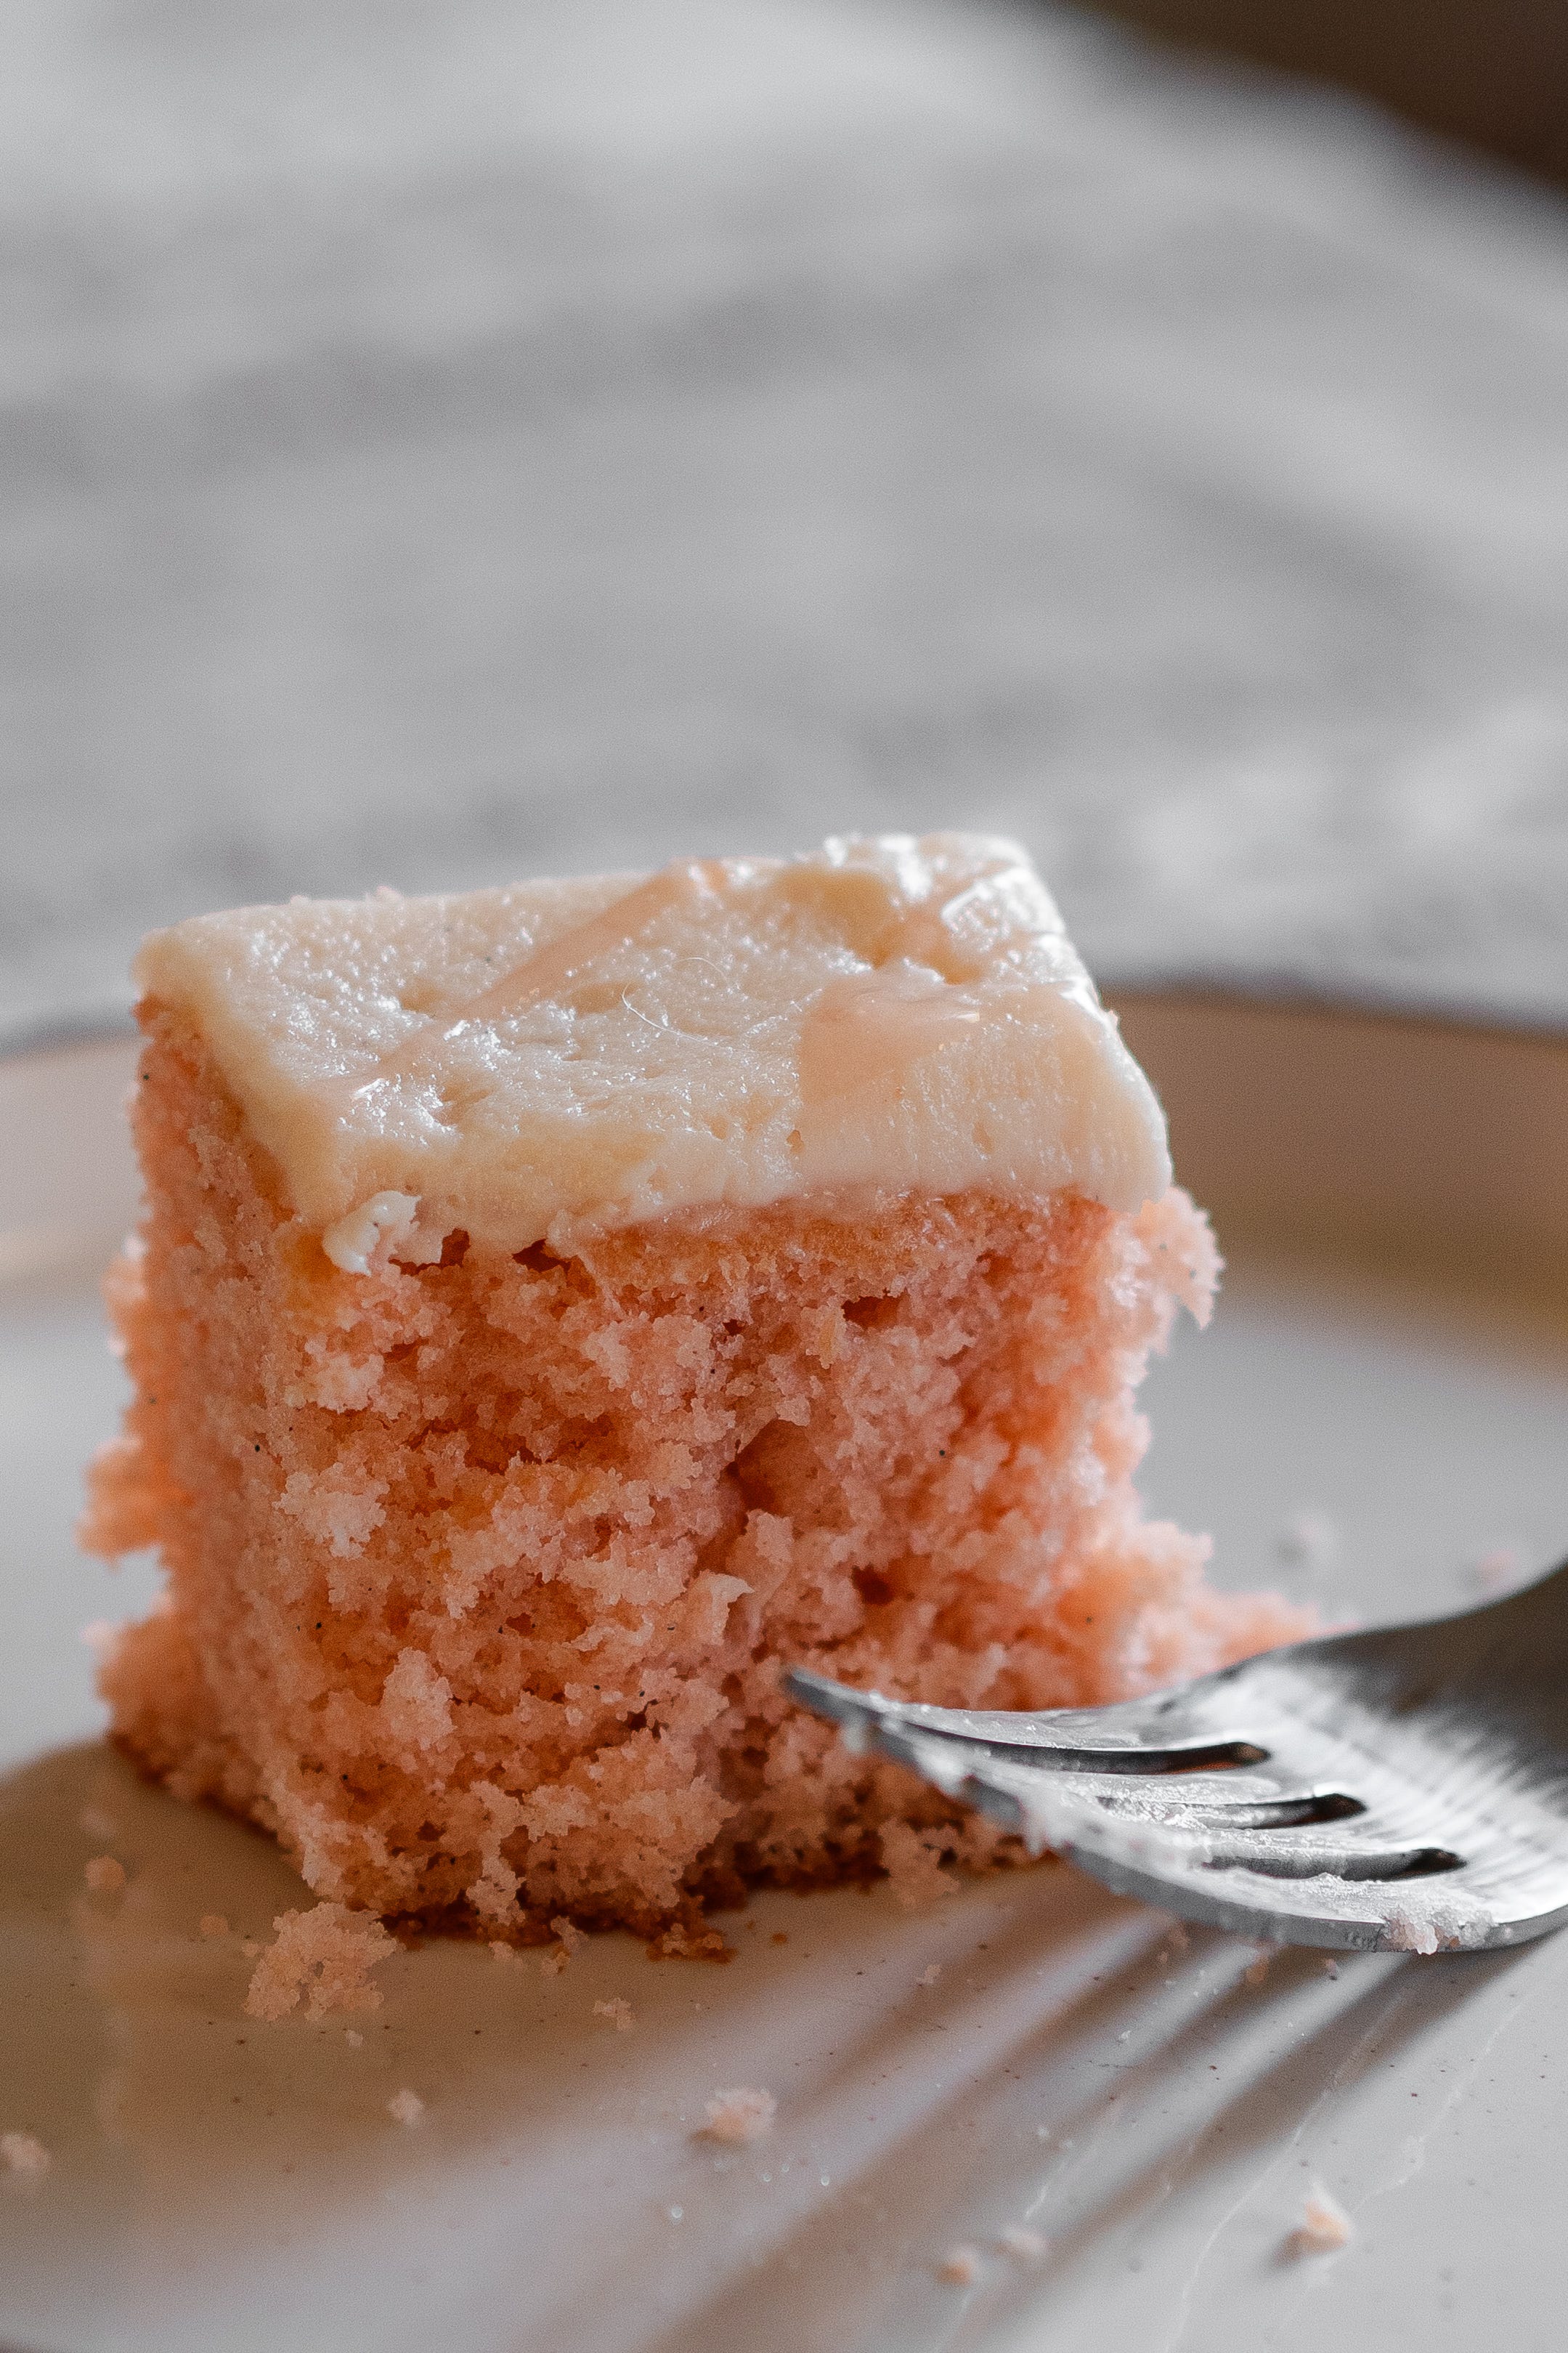
This Lychee Rose Snack Cake is soft, plush, and lightly floral, with a pleasant rose aroma. The rose isn’t loud and it sits in the background, adding aroma rather than flavoring the cake outright. Lychee syrup keeps everything moist and subtly sweet, while the pale rose cream on top balances it all out.
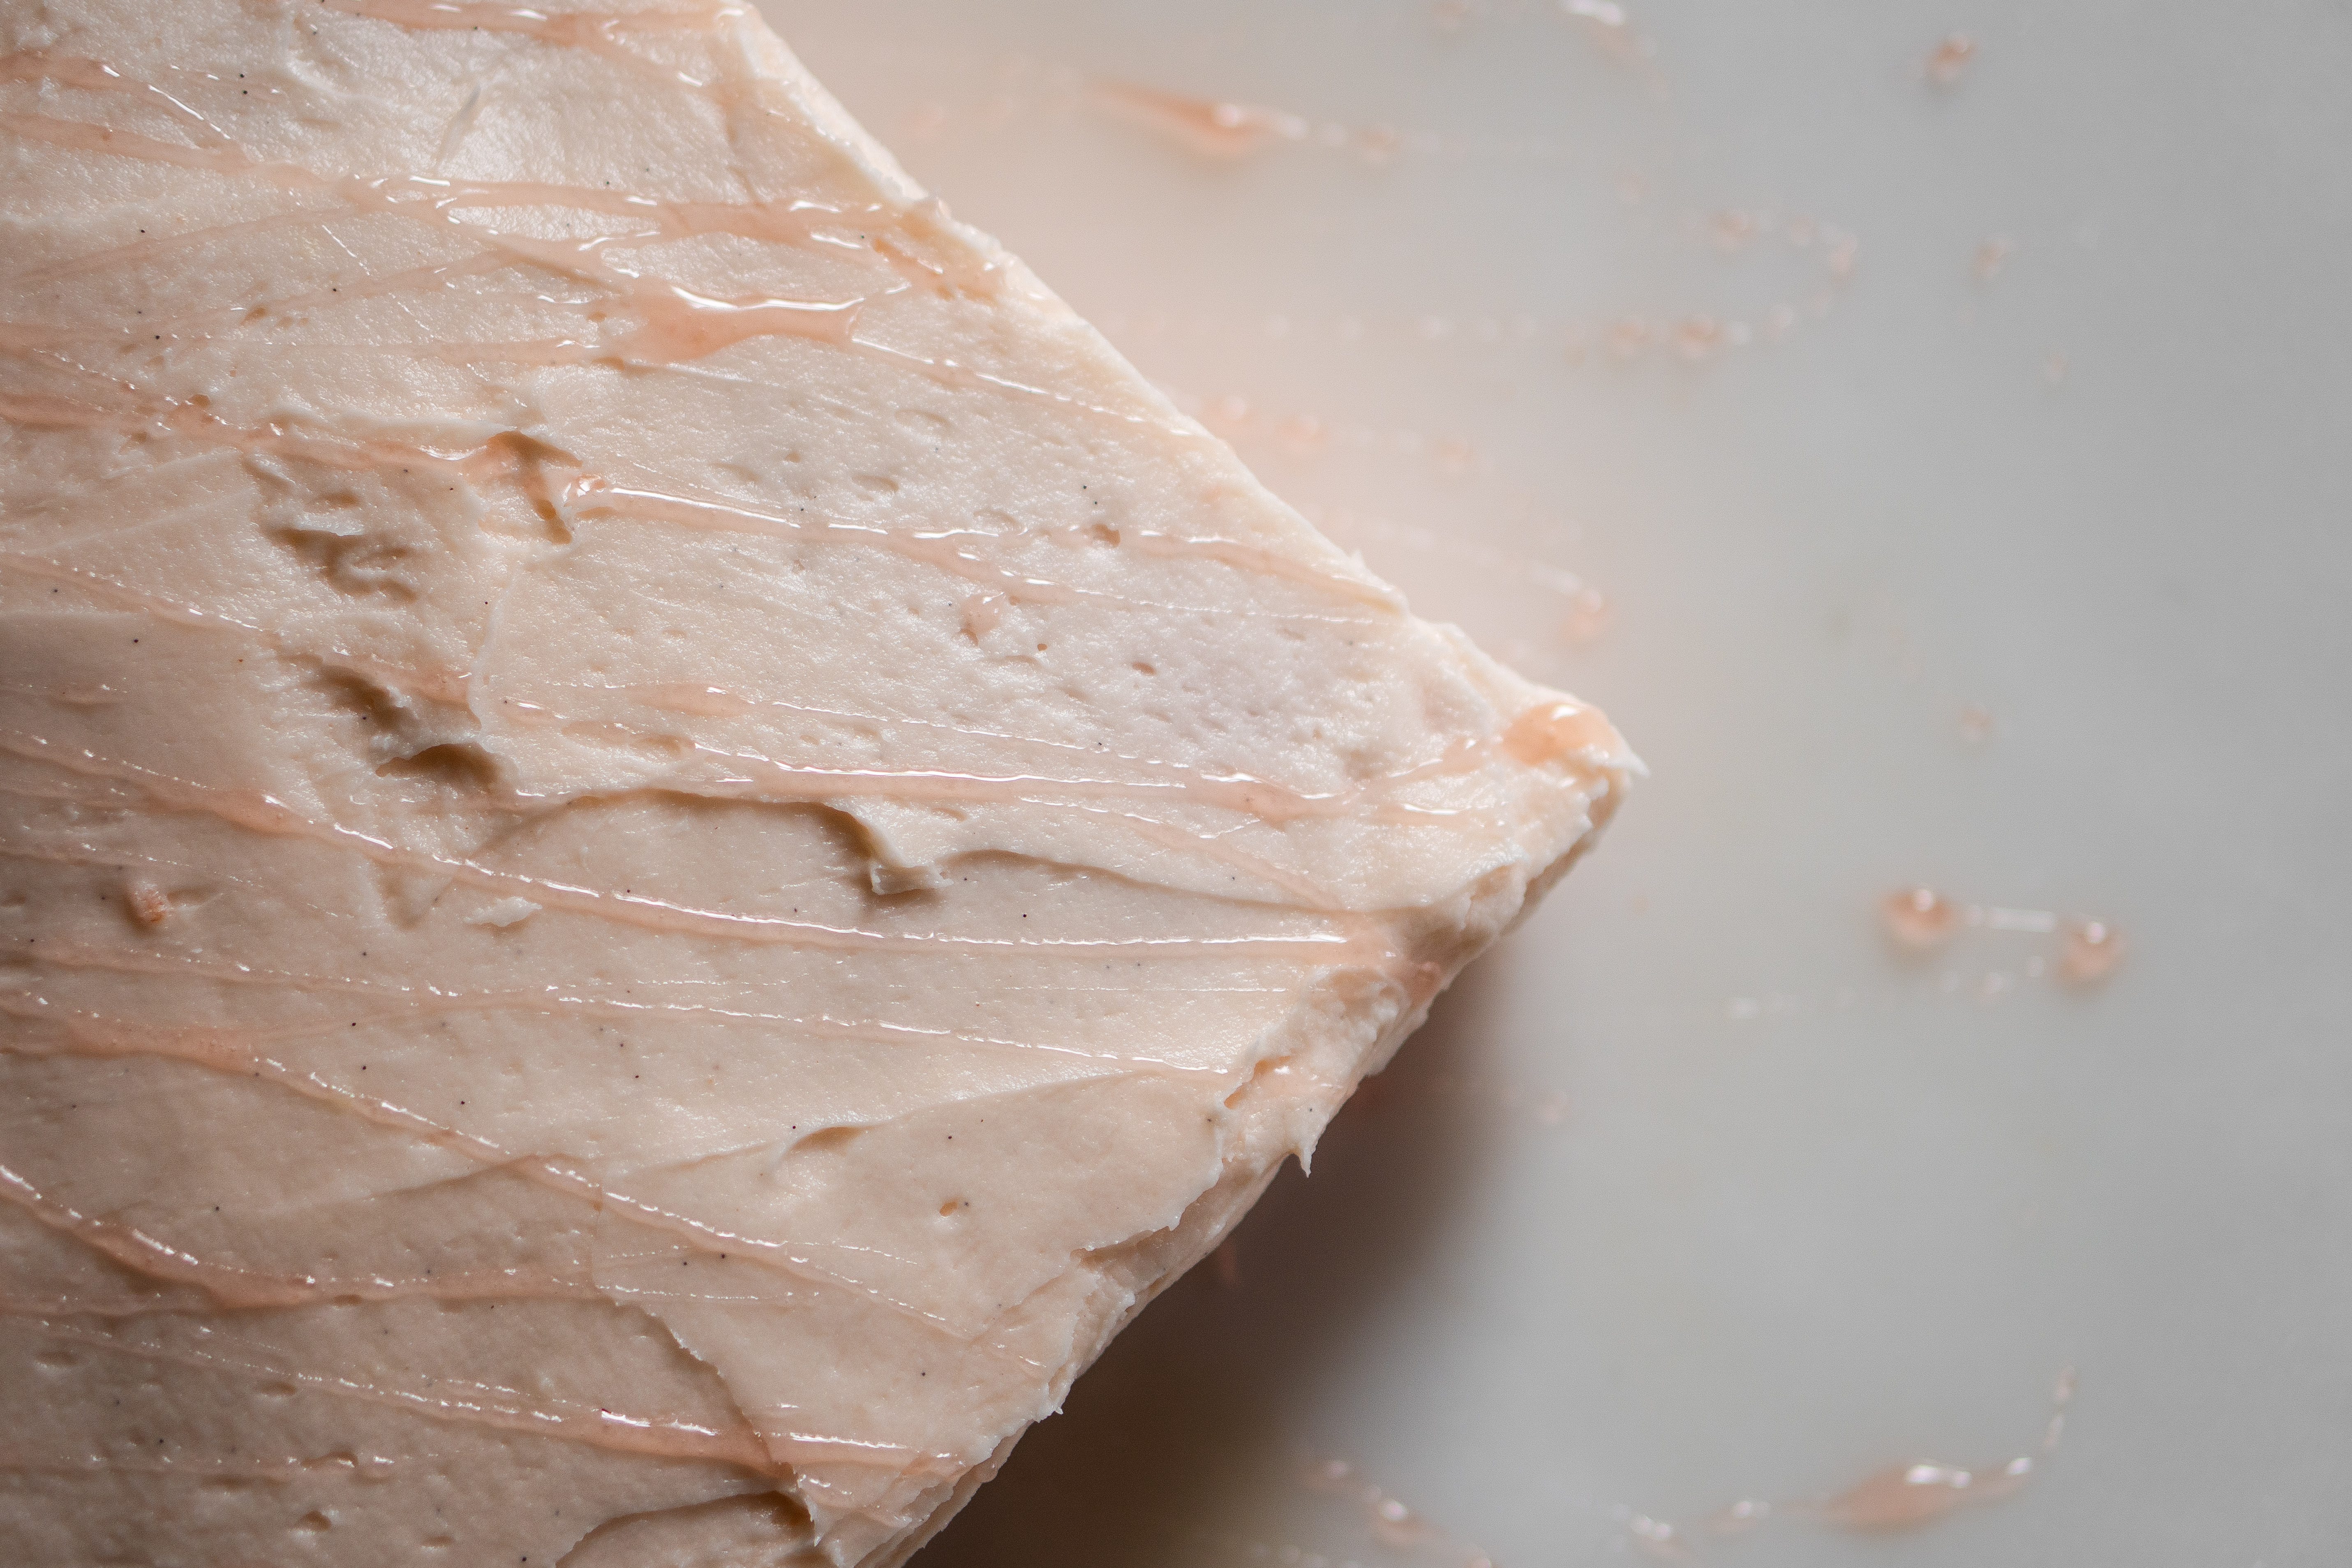
It’s a simple, one-pan cake with no complicated steps, the kind you can make on a random afternoon or the night before a gathering. If you’re bringing something to share and want it to feel thoughtful, this is the one.
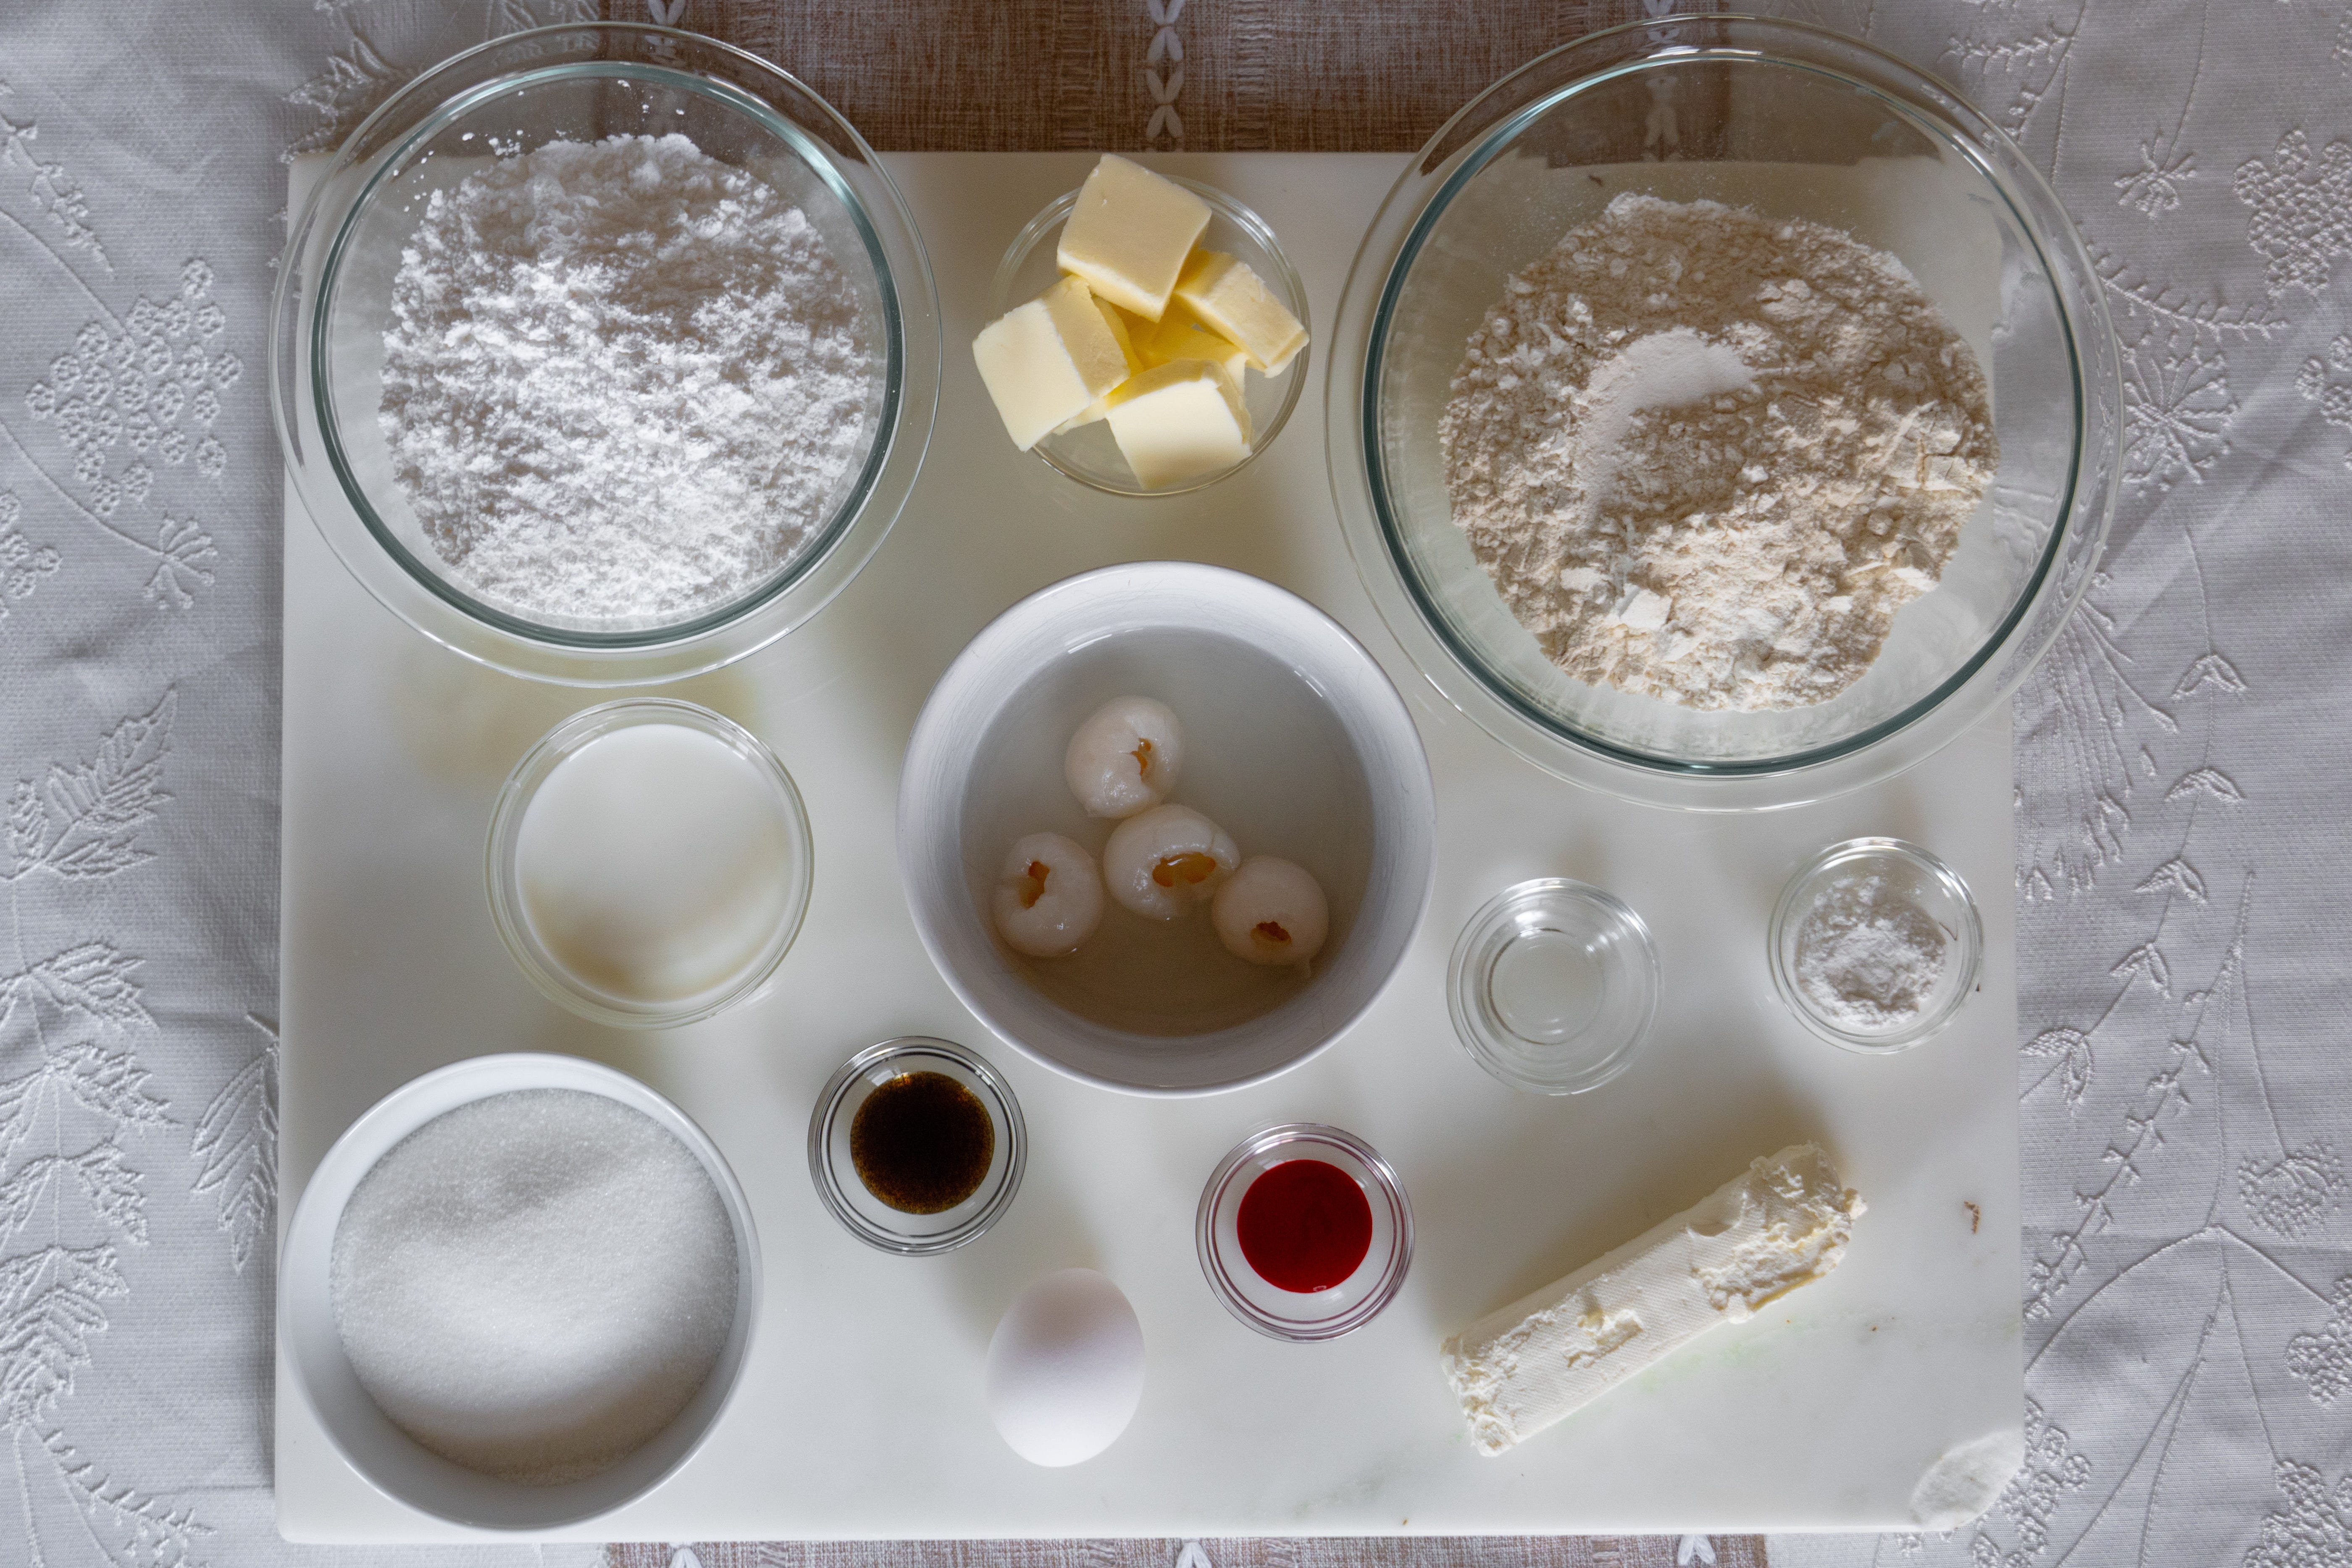
The Ingredients
For the Cake
240 g (2 cups) all-purpose flour
180 g (¾ cup + 2 tbsp) granulated sugar
1½ tsp baking powder
½ tsp fine salt
85 g (6 tbsp) unsalted butter, melted and cooled
2 tbsp neutral oil (canola or avocado works best)
2 large eggs, room temperature
160 g (⅔ cup) canned lychee syrup
2 tbsp whole milk
1½ tsp vanilla extract or vanilla bean paste
⅛ tsp beet powder or 1 drop red gel food coloring, dissolved into the syrup + milk
Pale Rose Cream
115 g (4 oz) cream cheese, room temperature
85 g (6 tbsp) unsalted butter, room temperature
200 g (1¾ cups) powdered sugar
1/2 tsp vanilla extract or vanilla bean paste (for slight speckled look)
1/4 tsp rose water (you can add a bit more if you want it fragrant)
Tiny amount beet powder or red gel food coloring (optional)
Lychee Syrup Drizzle (Finish)
120 g (½ cup) reserved canned lychee syrup
Tiny amount beet powder or red gel food coloring (a literal hair of it will work)
Instructions
For the Cake
1. Prepare the pan and oven. Preheat the oven to 350°F / 175°C. Line a 8×8-inch pan with parchment, leaving an overhang on two sides for easy removal. Grease the pan with butter or cooking spray (including the parchment paper).
2. Combine the dry ingredients. In a large bowl, whisk together the flour, sugar, baking powder, and salt until evenly distributed.
3. Mix the wet ingredients. In a separate bowl, whisk together the melted butter, neutral oil, eggs, vanilla, lychee syrup, and milk until smooth and cohesive.
4. Add the color (optional). If using beet powder, dissolve it fully into the milk or syrup first. If using gel food coloring, add 1 drop to the wet mixture and stir until the color is evenly distributed (should be pink, not red).
5. Bring the batter together. Add the wet ingredients to the dry and gently fold until just combined. Stop mixing as soon as the batter looks smooth to keep the texture soft and plush.
6. Bake the cake. Pour the batter into the prepared pan and smooth the top. Bake for 30 minutes, until the center springs back lightly and a toothpick inserted comes out clean.
7. Cool completely. Let the cake cool fully in the pan before frosting. After 20 minutes, remove the cake from the pan and let it finish cooling on a wire rack or parchment paper. A warm cake will melt the cream.
Pale Rose Cream
8. Beat the base.
In a bowl, beat the cream cheese and butter together until smooth and fully combined.
9. Add the sugar gradually.
Add the powdered sugar in stages, mixing on low at first, then increasing speed once incorporated, until light and fluffy.
10. Finish the cream.
Mix in the vanilla, then add the rose water last. Stop as soon as the frosting smells softly floral. Tint the frosting lightly with your dyeing agent of choice if desired.
11. Frost the cake.
Spread the Pale Rose Cream over the cooled cake in relaxed swoops using an offset spatula. Cover the top of the cake only (unless you don’t want that look haha).
Lychee Syrup Drizzle
12. Reduce the syrup.
Simmer the reserved lychee syrup gently over low heat until glossy and slightly thickened. It should coat the back of a spoon, and a finger dragged through should leave a clean line. If you want a subtle pink color for the drizzle, add a tiny amount of dye to the syrup. Make sure to start very small. You can always adjust as needed.
13. Cool and drizzle.
Let the syrup cool completely, then drizzle lightly over the frosted cake as a finishing accent. Now, you can serve the cake!
Storage & Handling
Room temperature (best option)
Store the frosted cake covered at room temperature for up to 24 hours. This keeps the texture soft and the frosting smooth.
Refrigeration (if needed)
If storing longer, refrigerate the cake tightly covered for up to 4 days. Let slices come back to room temperature before serving because cold cake reads firmer and dulls the floral notes.
Unfrosted storage
The cake itself can be baked a day ahead, wrapped well, and kept at room temperature. Frost and drizzle closer to serving for the best texture.
Handling and Transporting
Use a clean, sharp knife and wipe between cuts for neat edges. Smaller slices hold their shape better and fit the snack cake vibe. Chill briefly if needed to set the frosting, then transport covered. Bring back to room temperature before serving.
Notes and Substitutions
No lychee syrup?
You can substitute pear juice, white grape juice, or light simple syrup. The cake will lose some floral notes, but the texture will still be soft and plush.
Using fresh lychees?
Skip them for the batter. Fresh lychees add too much moisture and uneven texture. This cake works best with syrup-only flavor.
Rose water is optional but be careful.
If you’re unsure, start with half the amount or leave it out entirely. The cake will still be lovely and lightly floral from the lychee alone.
Food coloring vs. beet powder?
Use one or the other, not both. A drop or two of red gel food coloring is the most consistent option. Beet powder works if you prefer natural color, but keep it subtle.
Make it ahead.
The cake itself can be baked a day ahead and stored covered at room temperature. Frost and drizzle closer to serving for the softest texture.
Scaling up.
This recipe doubles cleanly for a quarter- or half-sheet pan. Watch the bake time and pull it as soon as the center is just set.
Did You Like This Recipe?
I’d love to hear from you in the comments! I always enjoy helping when I can and love hearing about any changes you made to the recipe. Thanks for reading!
The Breakfast Nook is a reader-supported publication. To receive new recipes, helpful guides, and to support my work, consider becoming a free subscriber!
This came just in time for me hosting a girl’s night! I think I’ll make mini loaves or cupcakes with this recipe, thank you again for 💕