
Maple Honey Buns
A classic treat with a maple twist.

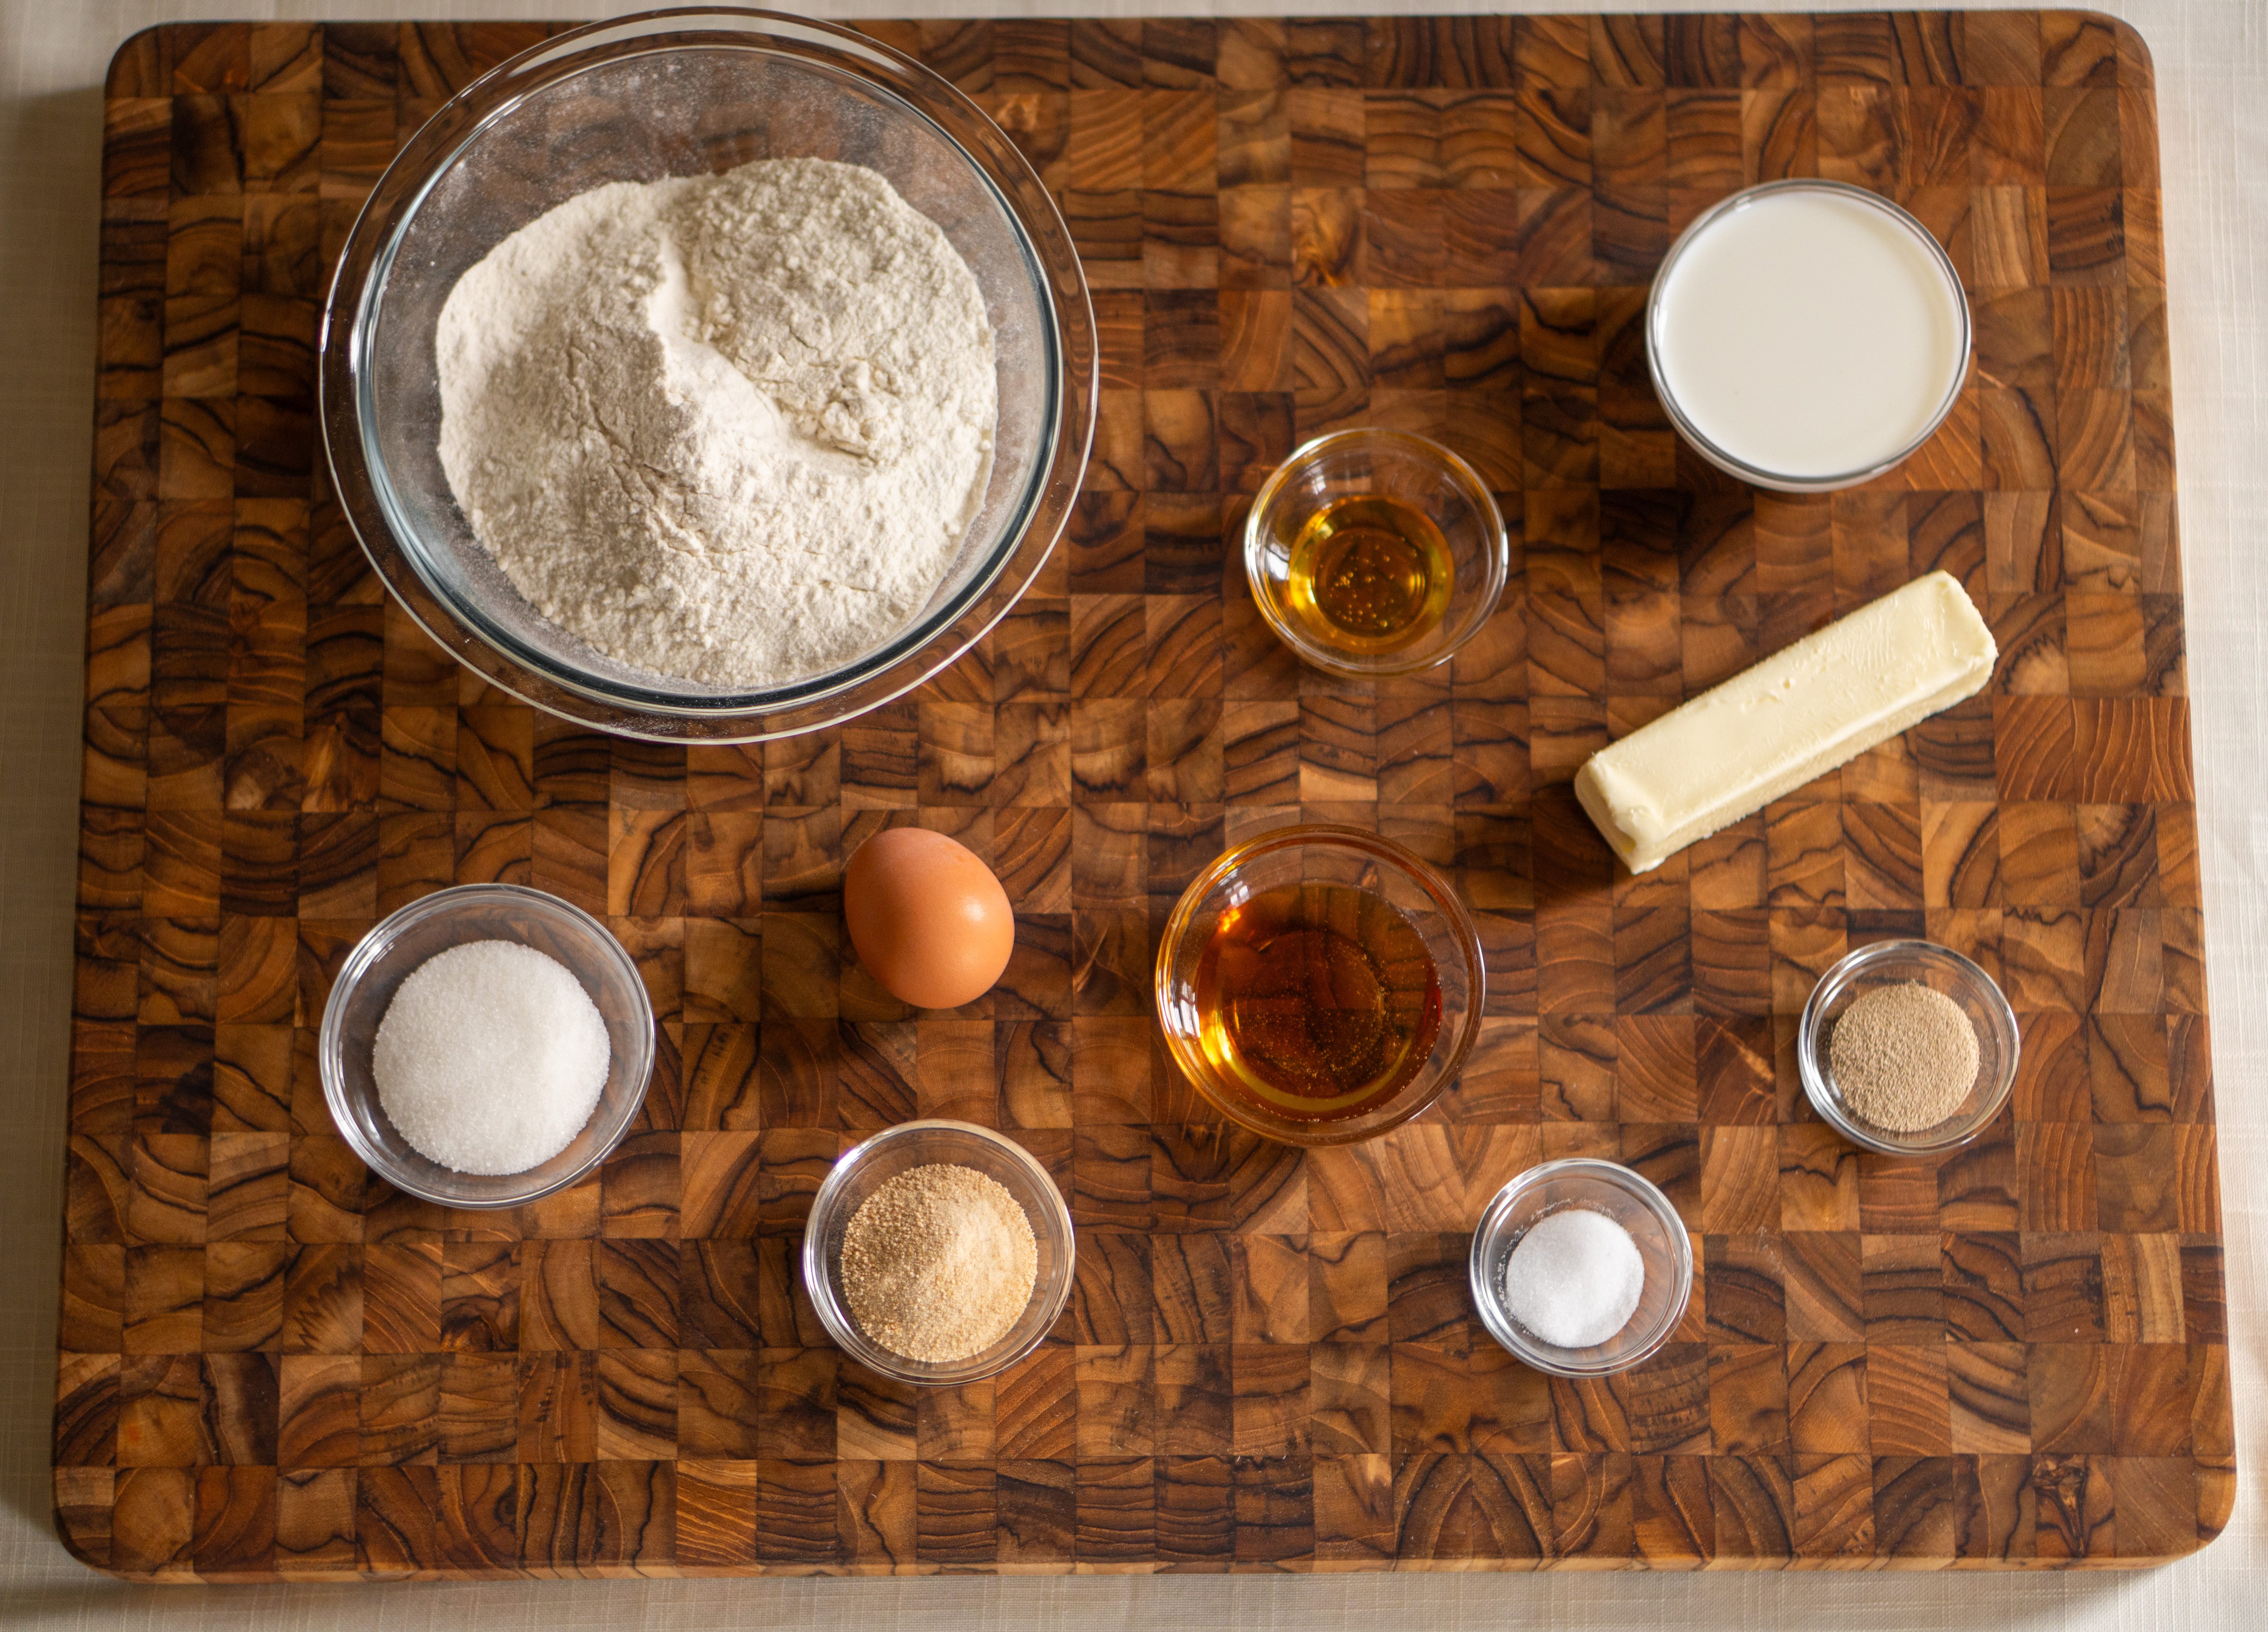
Maple and honey.
Two of nature’s best sweeteners, and it only felt right to bring them together after getting a jar of maple syrup from my friend’s family farm.
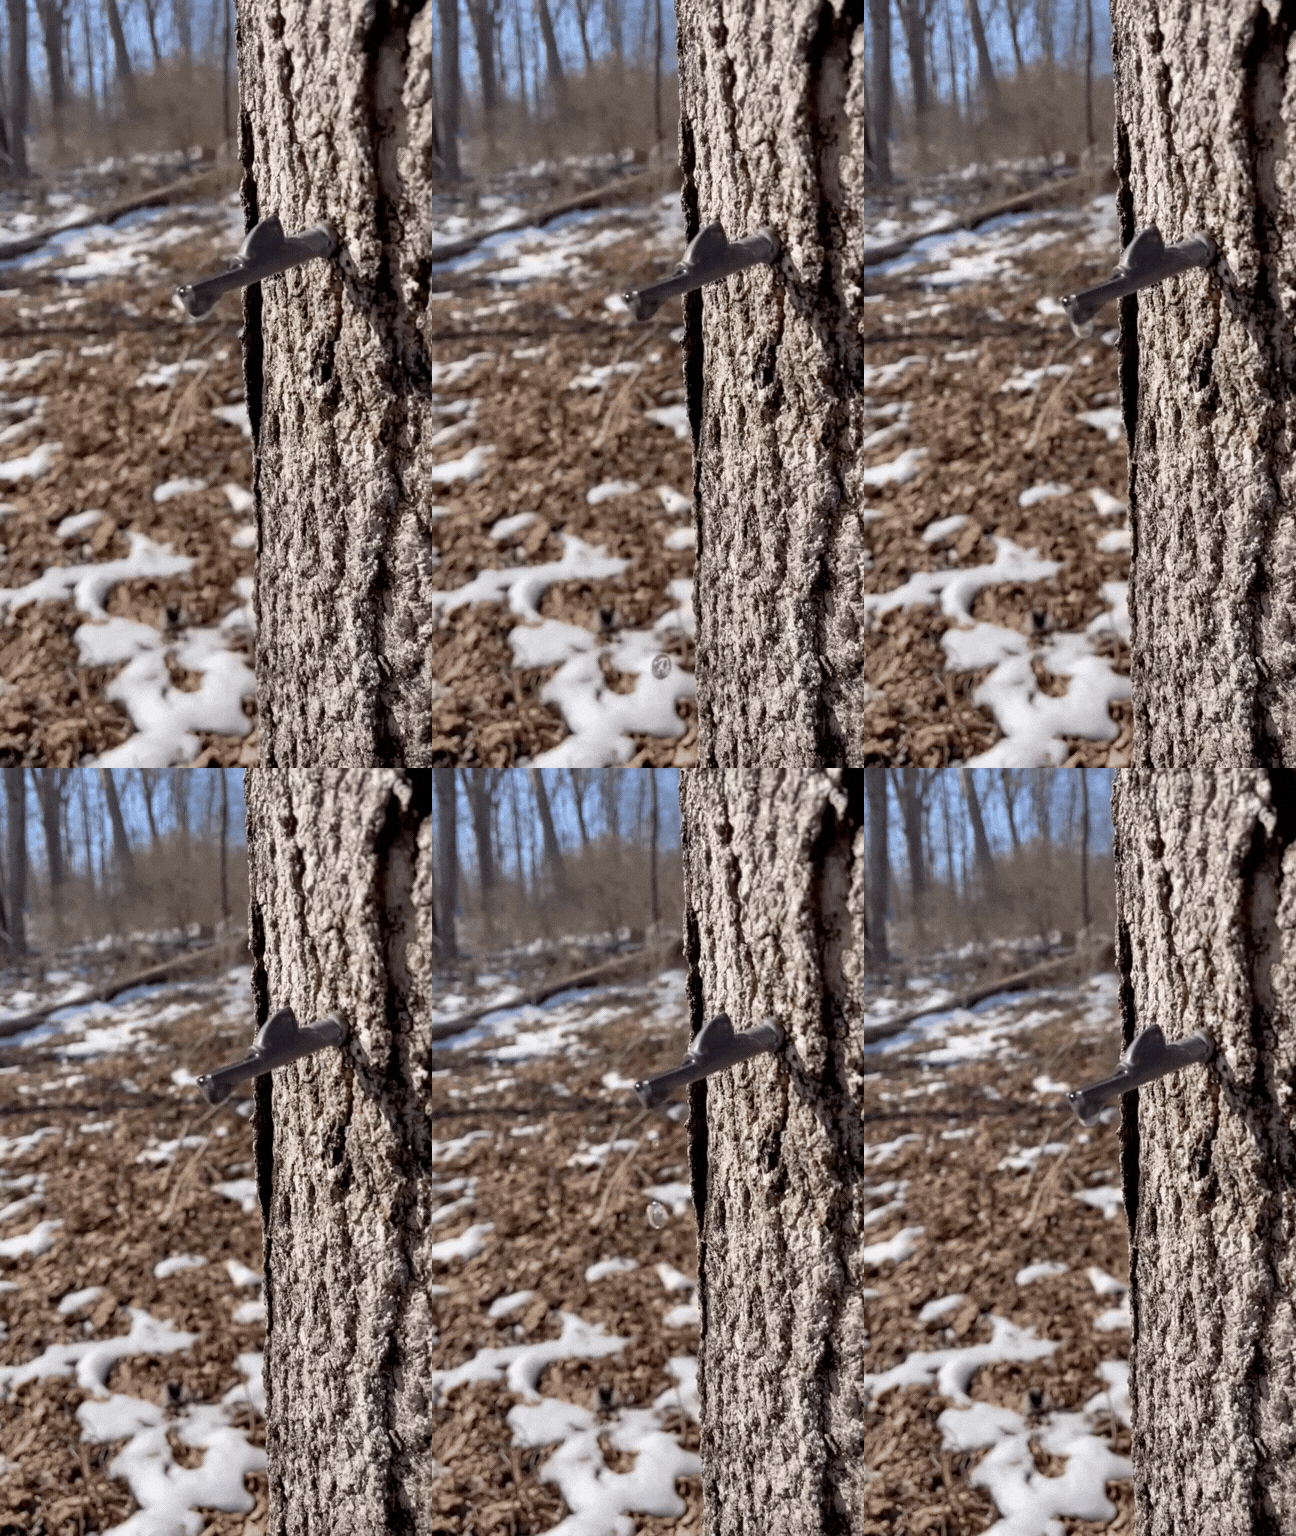
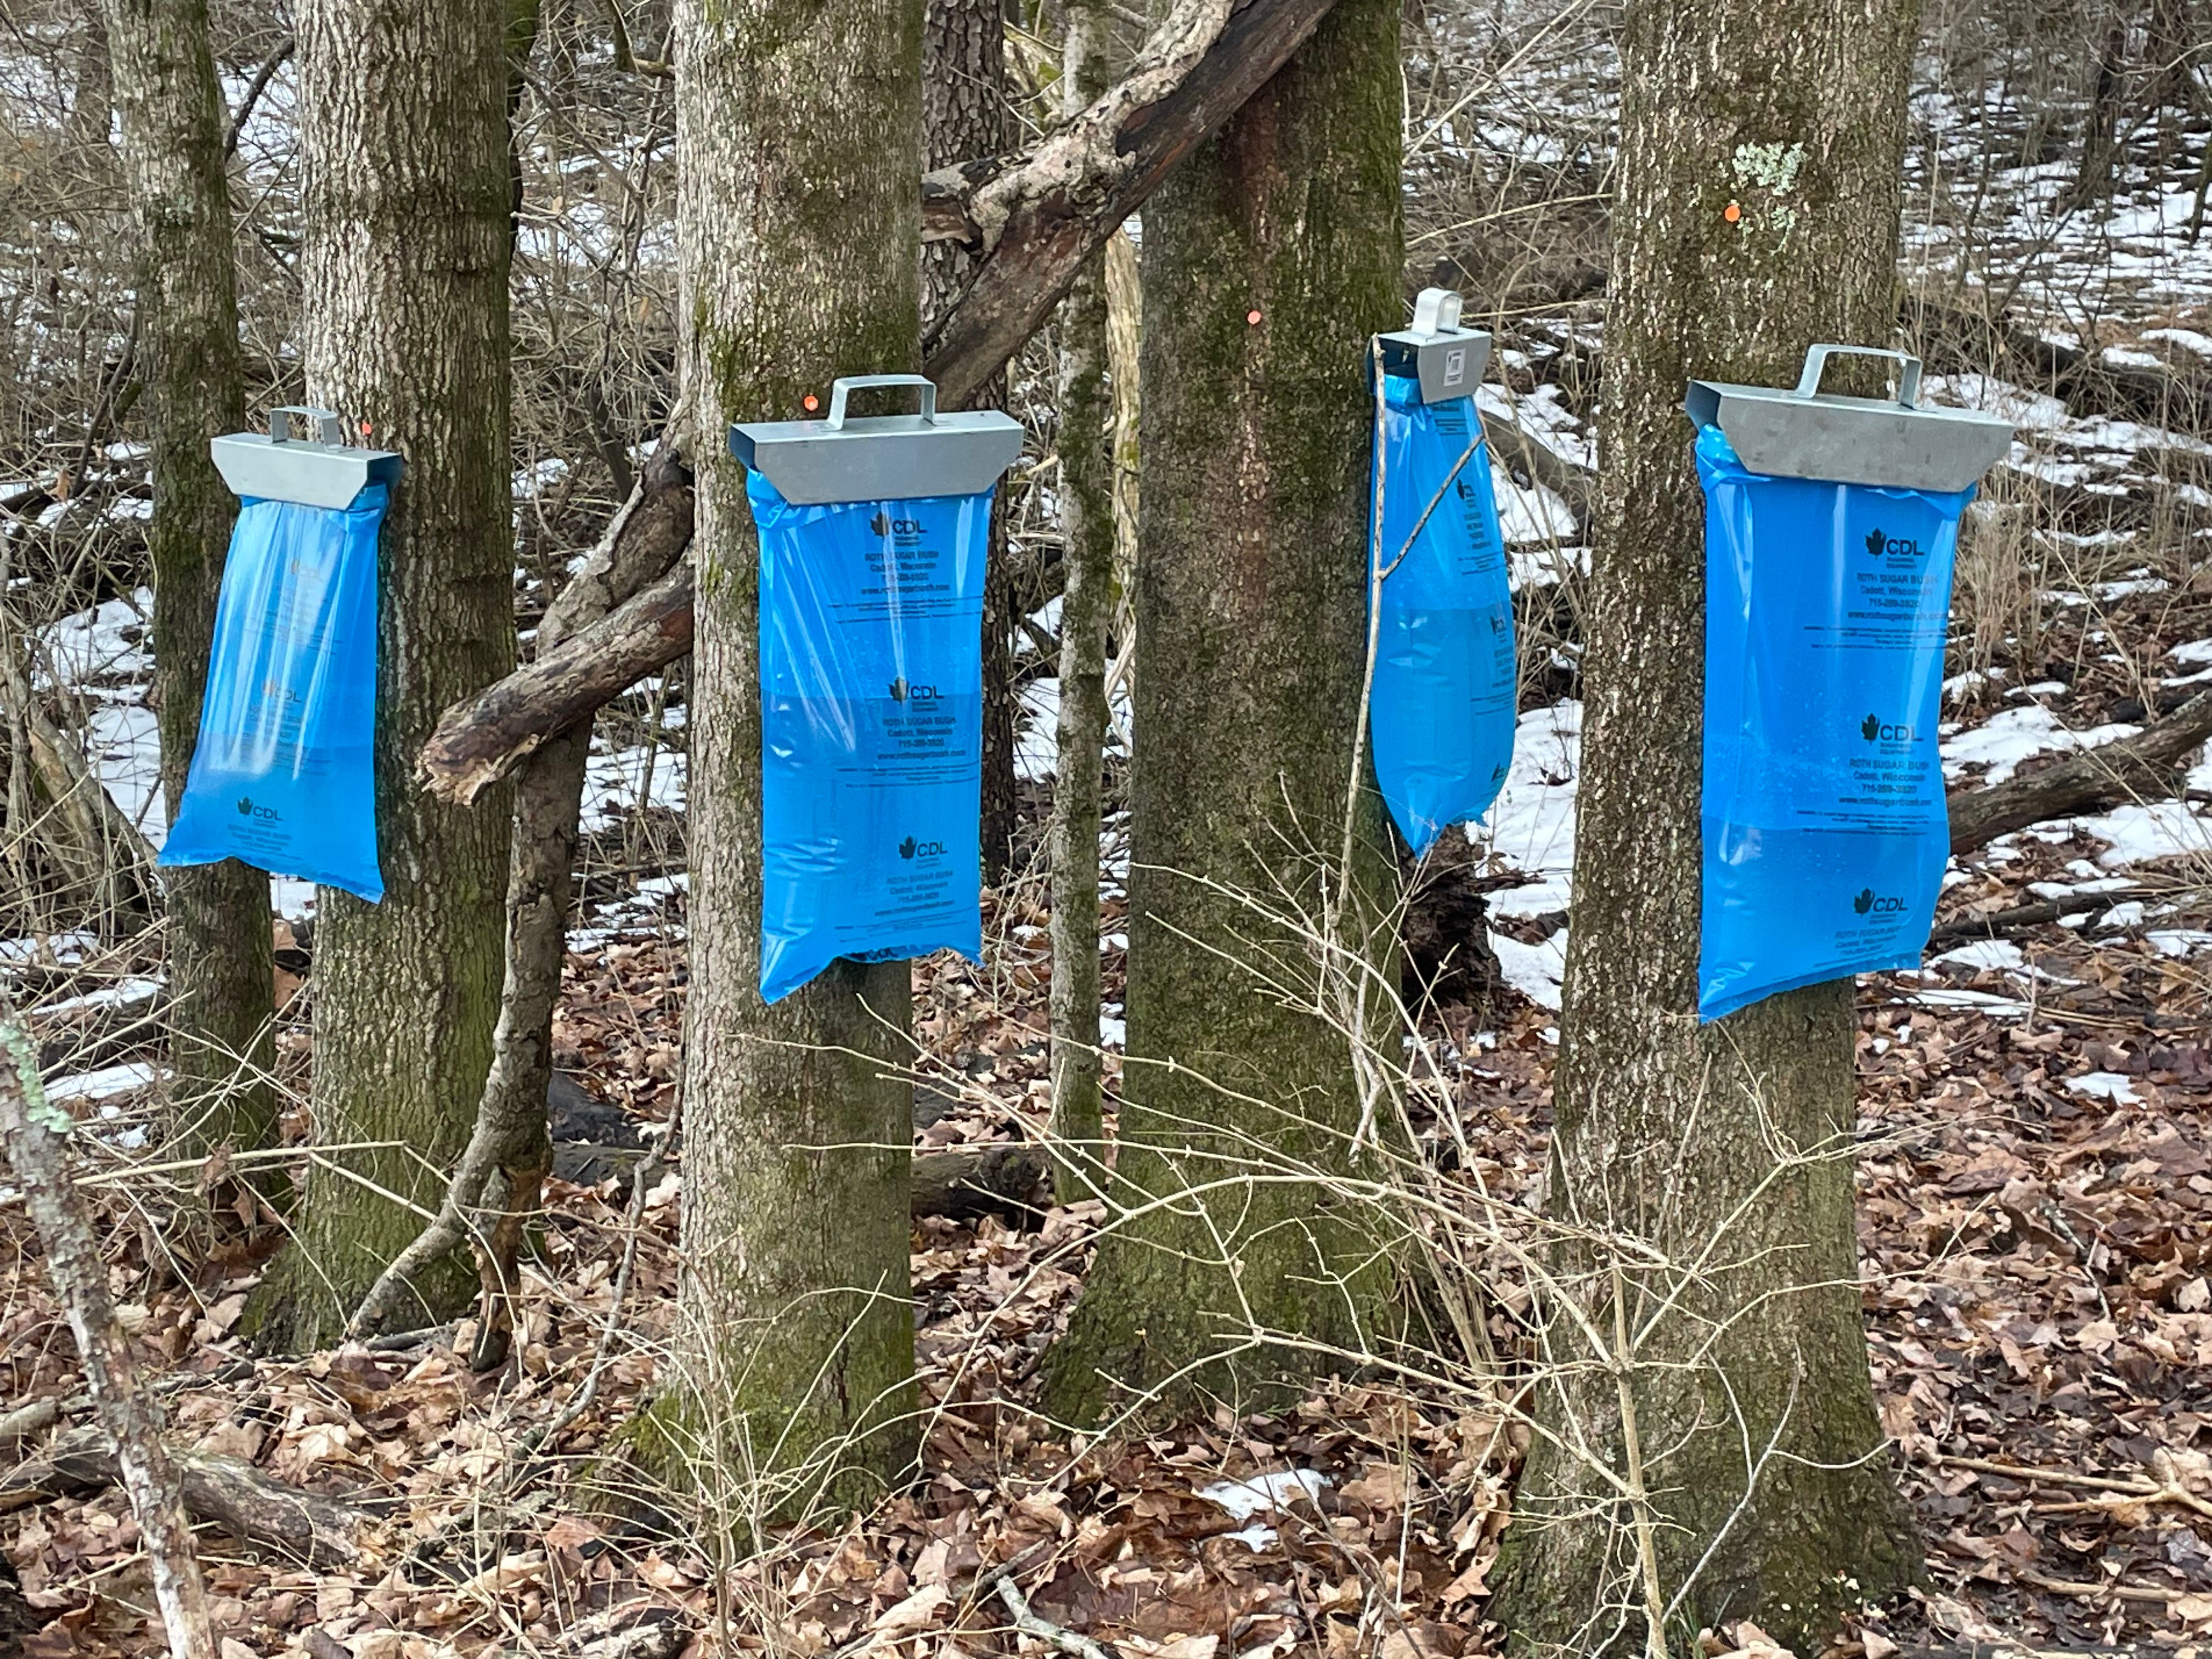
Making maple syrup is a slow process. It takes gallons of sap just to get a small amount of syrup.
So you can imagine how hyped I was to get a full jar as a surprise.
I’ll be doing many bakes with this syrup, but the first one will be maple honey buns!
Honey and maple work well as a pair, especially in the presence of butter and milk, where they round each other out a bit.
These maple honey buns are soft, with a really pleasant natural sweetness.
The glaze is the main carrier for the maple flavor, so make sure to be generous when glazing the buns.
After all, it wouldn’t be a honey bun if we didn’t cover every conceivable part of it with glaze.
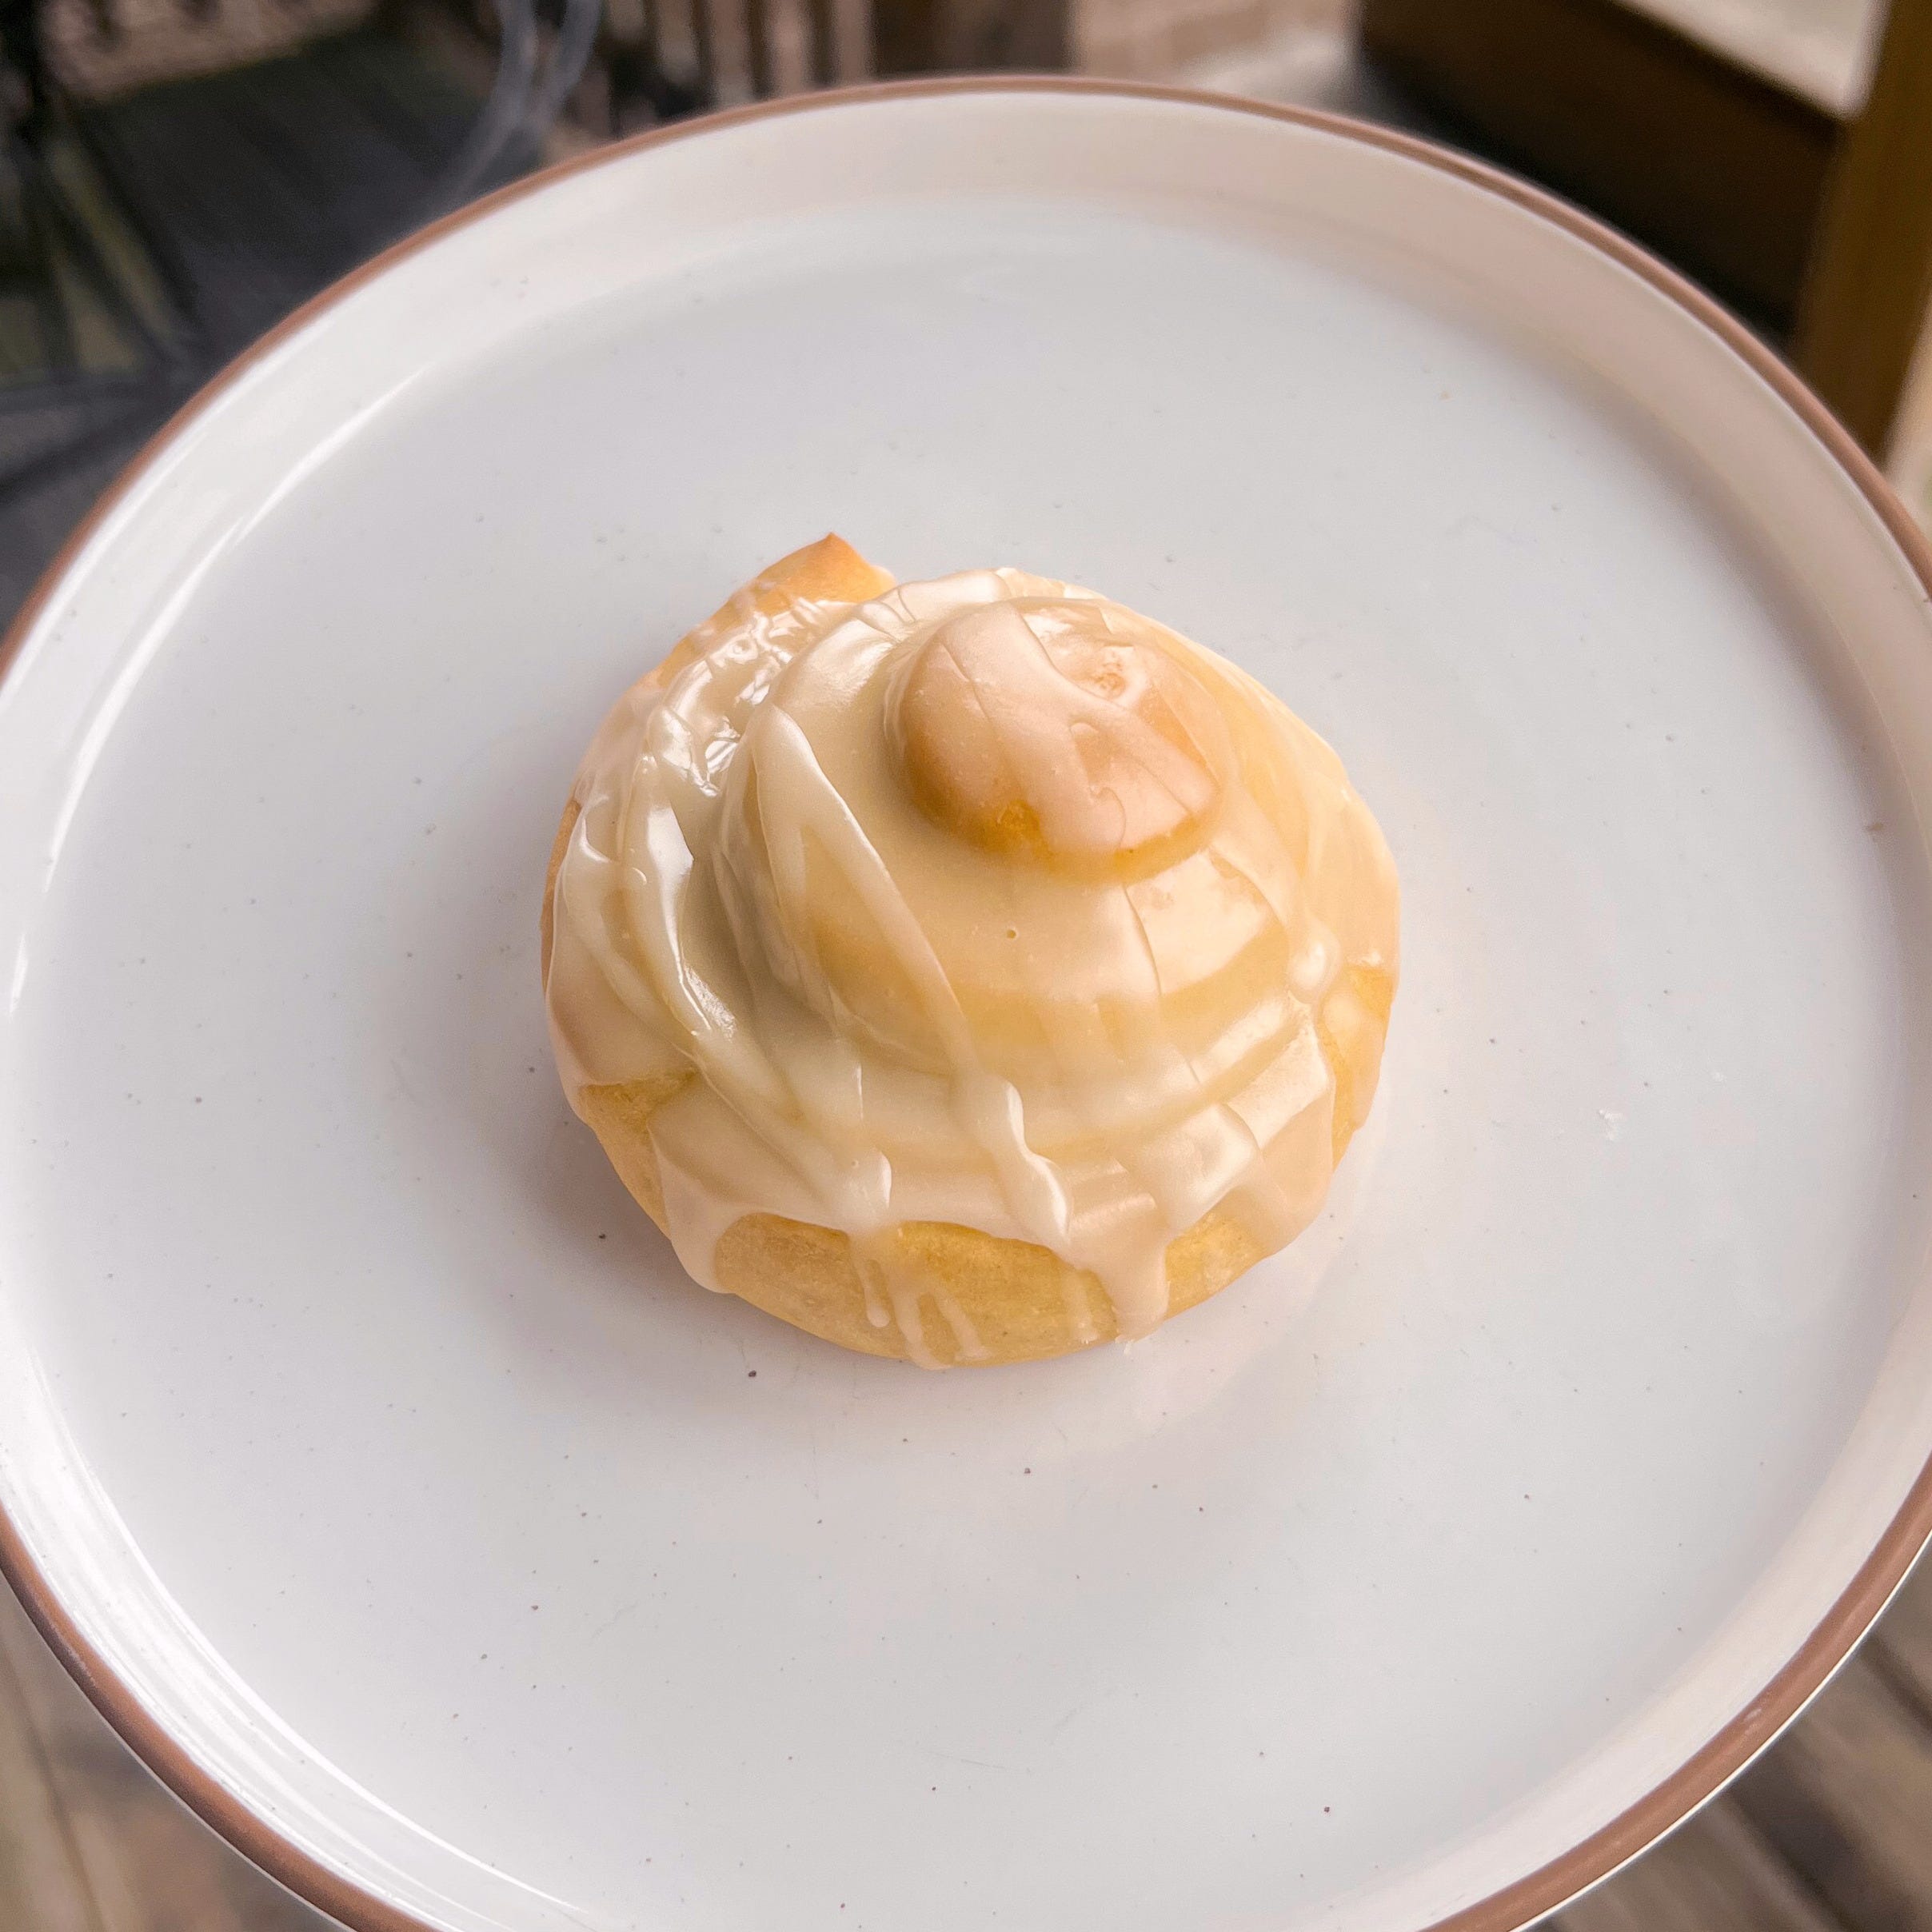
Sorry for the lack of photos of the finished buns. Most were on my camera and the SD card is unreadable as of now 🙄
Yield: 8–10 buns
Time: 2 hours 30 minutes to 3 hours
The Ingredients
Dough
300 g (2 1/2 cups) bread flour
130 g (1/2 cup + 1 tbsp) whole milk, warm
1 large egg
35 g (2 tbsp + 2 tsp) granulated sugar
25 g (2 tbsp) maple sugar
6 g (1 tsp) salt
6 g (2 tsp) instant yeast
45 g (3 tbsp) unsalted butter, softened
Glaze
180 g (1 1/2 cups) powdered sugar
60 g (3 tbsp) maple syrup
18 g (1 tbsp) honey
25–40 g (2–3 tbsp) milk, as needed
Pinch of salt
Instructions
Mix the dough. In a bowl, combine the warm milk, yeast, granulated sugar, maple sugar, and egg. Add the flour and salt, then mix until a shaggy dough forms.
Knead and develop the dough. Knead the dough for 6–8 minutes until it begins to smooth out, then add the softened butter gradually. Continue kneading until the dough is soft, slightly tacky, and elastic.
Let the dough rise. Cover the dough and let it rise for 60–75 minutes, or until it looks puffy and airy.
Roll out the dough. Turn the dough onto a lightly floured surface and roll it into a rectangle about 10 x 14 inches and roughly ¼ inch thick.
Shape the buns. Roll the dough from the long side into a log, keeping the roll moderately snug but not tight. Avoid stretching the log after rolling.
Cut and arrange the buns. Slice the log into 1.5–2 inch pieces and place them onto a lined baking tray with a bit of space between each. Lightly press each piece just slightly to encourage a relaxed spiral.
Proof the shaped buns. Cover and let the buns rise for 45–60 minutes, or until noticeably puffy.
Bake the buns. Bake at 350°F (175°C) for 14-16 minutes, or until lightly golden and soft.
Prepare the glaze. Whisk together the powdered sugar, maple syrup, honey, milk, and salt until smooth. The glaze should be fluid and pourable, but thick enough to coat.
Apply the first glaze layer. Let the buns cool for 5–10 minutes until warm, then place them on a wire rack and pour the glaze over each bun, allowing it to coat and drip naturally. Don’t be shy here, coat them!
Apply the second glaze layer. After the first layer has slightly set, thin the glaze with a little more milk and lightly drizzle a second layer over the tops to create a glossy finish.
Store the buns in an airtight container at room temperature for up to 3 days. They’re best the day they’re made, but will stay soft for a day or two thanks to the glaze.
To reheat, warm briefly in the microwave (10–15 seconds) to soften and refresh the crumb.
Refrigeration is not recommended, as it can dry out the buns and firm up the glaze. If needed, reheat before serving to bring back softness.
Freeze unglazed buns in an airtight container for up to 2 months. Thaw at room temperature, then warm and glaze before serving for best results.
Notes and Substitutions
Maple sugar in the dough.
If you don’t have it, replace it with an equal weight of granulated sugar. The buns will still be great, just slightly less maple-forward.
Balancing the glaze (maple vs honey).
This glaze is focused on maple with honey as a supporting note. If you prefer a more classic honey bun flavor, increase the honey slightly and reduce the maple. For a stronger maple flavor, do the opposite.
Dough hydration and softness.
This dough is intentionally slightly higher in hydration for a softer, more tender bun. It will feel a bit tacky during mixing but avoid adding extra flour unless truly needed.
Dough temperature.
If your kitchen runs cool, proof the dough in a turned-off oven with the light on. A room temperature around 75–78°F will give you the most consistent rise and soft texture.
Kneading by hand.
Expect about 12–15 minutes of total kneading. The dough should go from shaggy to smooth and elastic. It should feel soft and slightly tacky, but not sticky.
Glaze thickness.
Your glaze should be fluid and pourable, but not watery. If it runs off too quickly, add a bit more powdered sugar. If it’s too thick to pour cleanly, add a small amount of milk to loosen.
Substitutions
Bread flour → All-purpose flour
Can work, but texture will be slightly less chewy and structured.
Milk → Plant-based milk
Works well, though richness may decrease slightly depending on the milk used.
Butter → Neutral oil
Can substitute with equal weight neutral oil, though flavor and structure will change a bit.
Maple sugar → Granulated sugar
Use an equal weight replacement. The buns will still be great, but with less of that maple taste in the dough.
Did You Like This Recipe?
I’d love to hear from you in the comments! I always enjoy helping when I can and love hearing about any changes you made to the recipe. Thanks for reading!
The Breakfast Nook is a reader-supported publication. To receive recipes, new entries for ongoing series, and to support my work, consider becoming a free subscriber.
these are so fricken dreamy! just wow!